To bake bread with a smart bread maker, start by choosing quality ingredients like fresh flour and yeast, then measure them precisely using a scale or measuring cups. Add the liquids first, followed by dry ingredients, and yeast last, ensuring proper order. Select the appropriate program, crust setting, and loaf size based on your recipe. After baking, let the bread cool before slicing. For detailed steps and tips, continue exploring the process fully.
Key Takeaways
- Measure and add ingredients in the recommended order: liquids first, dry ingredients next, and yeast last away from liquids.
- Select the appropriate bread program, crust color, and loaf size based on your recipe and preferences.
- Ensure the machine is properly plugged in, on a stable surface, and all components are correctly assembled.
- Monitor dough consistency during kneading and adjust settings if necessary for optimal texture.
- Once baking completes, remove bread promptly, cool on a rack, and store properly to maintain freshness.
KITCHENARM 29-in-1 SMART Bread Machine with Gluten Free Setting 2LB 1.5LB 1LB Bread Maker Machine with Homemade Cycle – Stainless Steel Breadmaker with Recipes Whole Wheat Bread Making Machine
29-in-1 SMART BREAD MACHINE FOR NEWBIES & PROS – Your healthy homemade bread is just clicks away: pick…
As an affiliate, we earn on qualifying purchases.
As an affiliate, we earn on qualifying purchases.
Choosing the Right Ingredients for Your Bread
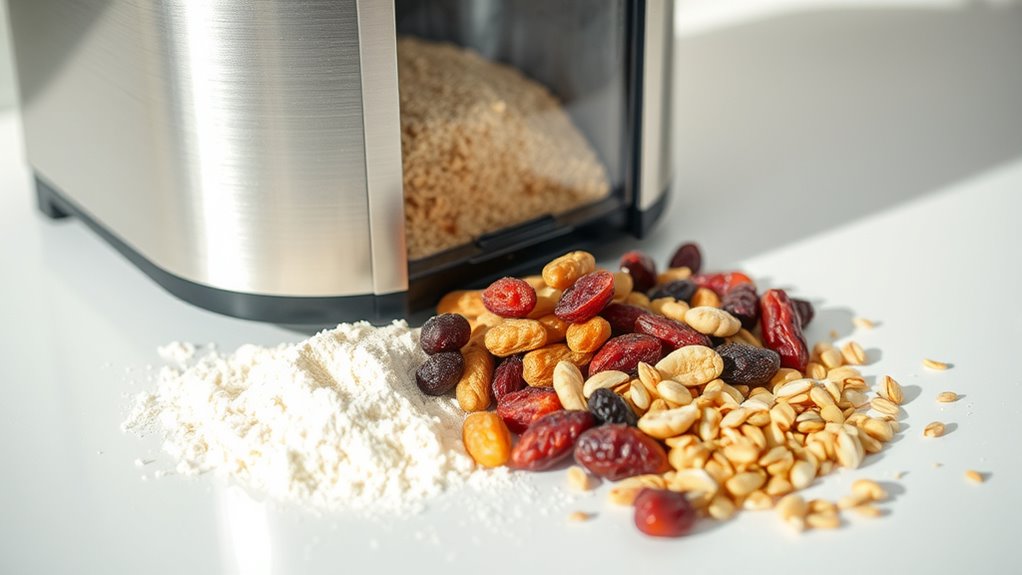
Choosing the right ingredients is essential for making delicious bread with your smart bread maker. Your selection of grain varieties influences both texture and taste, so opt for high-quality options like whole wheat, rye, or spelt. These grains bring unique flavors and nutritional benefits, elevating your bread beyond basic recipes. To boost flavor enhancements, consider adding ingredients like seeds, nuts, or dried fruits, which add textures and depth. Make sure your grains are fresh and properly stored to avoid moisture damage. Using a variety of grain types can create complex flavors and appealing crusts. Additionally, understanding the properties of different grains can help you select the best ingredients for your desired bread type. Incorporating grain characteristics such as gluten content and milling process can further refine your bread’s texture and rise. Being aware of grain storage tips ensures your ingredients stay fresh and maintain their quality over time. Remember, quality ingredients are the foundation for great bread, so choose wisely to ensure your baking results are consistently satisfying and flavorful. Silky tantrums can sometimes occur during baking or testing, adding humor and unpredictability to your bread-making experience.

Etekcity Food Kitchen Scale, Digital Grams and Ounces for Weight Loss, Baking, Cooking, Keto and Meal Prep, LCD Display, Medium, 304 Stainless Steel
𝗘𝗳𝗳𝗼𝗿𝘁𝗹𝗲𝘀𝘀 𝗪𝗲𝗶𝗴𝗵𝗶𝗻𝗴: Supports 5 units (oz/lb:oz/fl'oz/g/mL), tare function, and includes 2 AAA batteries for hassle-free operation
As an affiliate, we earn on qualifying purchases.
As an affiliate, we earn on qualifying purchases.
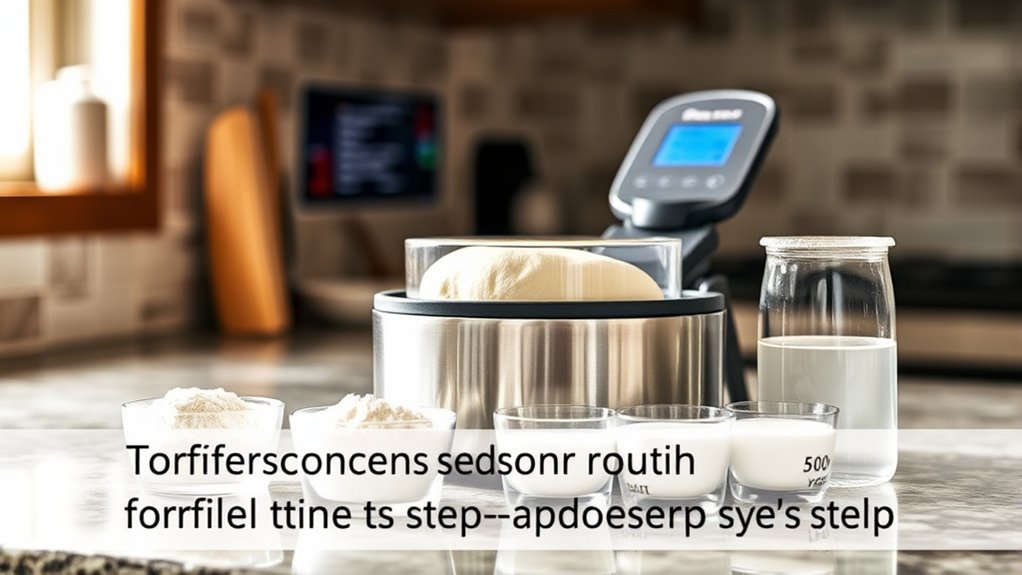
Preparing and Measuring Your Components

To guarantee your bread turns out perfect, you need to prepare and measure your ingredients carefully. Use accurate measuring tools like a digital scale and proper cups to get consistent results. Paying attention to ingredient selection and measurement techniques makes all the difference in your baking. Incorporating precise measurements ensures optimal dough consistency and final loaf quality. Understanding economic principles can also help you make cost-effective choices when selecting ingredients.
Ingredients Selection Tips
Have you ever wondered how the right ingredients can make or break your bread? Choosing quality components is essential. Start by selecting the best flour varieties suited for your recipe, such as bread flour for structure or whole wheat for added flavor. Consider the yeast types—instant yeast offers convenience, while active dry yeast may require activation. Pay attention to these tips:
- Use fresh, high-quality flour for better rise and texture
- Opt for the appropriate yeast type based on your recipe and schedule
- Measure ingredients precisely to ensure proper balance
- Incorporate ingredients at the right stage for ideal mixing
- Adjust ingredient amounts based on your bread maker’s capacity and recipe specifics
- Be aware of regulatory changes that may affect ingredient choices or labeling standards to ensure compliance and safety. Staying informed about industry standards can help you select compliant and safe ingredients. Additionally, understanding ingredient sourcing and its impact on quality can further enhance your baking outcomes.
Proper selection and measurement set the foundation for perfect bread.
Accurate Measurement Techniques
Ever wonder why your bread sometimes turns out dense or flat? It all comes down to ingredient accuracy. Using precise measurement tools ensures you add the right amount of flour, water, and other ingredients. Invest in a good digital scale for weighing ingredients, as volume measurements can be inconsistent. When measuring flour, spoon it into your measuring cup and level it off for accuracy. For liquids, use a clear liquid measuring cup for precise readings. Remember, even small deviations can affect the bread’s texture and rise. Take your time to measure carefully and double-check your measurements before adding them to the bread maker. Accurate measurement techniques help you achieve consistent, delicious results every time. Proper measurement helps ensure correct hydration in your bread dough, leading to better texture and rise. Additionally, understanding how to calibrate your measuring tools can further improve your baking precision.

King Arthur 100% Organic Bread Flour, Unbleached, 5 lb (Pack of 1) – Non-GMO Project Verified, No Preservatives
High Protein Flour: 12.7% protein – a full point more than other national brands, King Arthur flour ensures…
As an affiliate, we earn on qualifying purchases.
As an affiliate, we earn on qualifying purchases.
Setting Up Your Smart Bread Maker
Start by unpacking your bread maker and inspecting it for any damage. Next, connect it properly to a power source, ensuring the cord is secure. Finally, turn it on and select the initial settings to get ready for your baking process. Be sure to familiarize yourself with your bread maker’s features to optimize your baking experience. Understanding auditory processing skills can also help in following complex instructions more effectively.
Unpack and Inspect
Before using your smart bread maker, it’s important to unpack and carefully inspect all the components. Check for any damage or missing parts to guarantee smooth operation. Examine the mixing paddle, bread pan, and control panel for cleanliness and proper fit. Make sure the interior is free of dust or debris that could affect bread texture or ingredient freshness. Look over the power cord and accessories, confirming they’re intact. Additionally, verify that the lid closes securely and that the display functions properly. Proper inspection ensures your machine operates efficiently, producing bread with the desired texture and flavor. Conducting a thorough initial assessment can further identify potential issues before regular use. Regularly inspecting internal components can help maintain optimal performance over time. For added peace of mind, reviewing vetted reviews of similar models can confirm the quality of the components and overall reliability of your bread maker.
Connect Power Properly
To guarantee your smart bread maker operates safely and effectively, you need to connect it to a power source correctly. Make certain the power connection is secure and the outlet matches the bread maker’s voltage requirements. Avoid using extension cords or damaged cords, as they can pose safety hazards. Before plugging in, check that the power switch is off to prevent accidental activation. Follow safety precautions by placing the bread maker on a stable, flat surface away from water or moisture. Confirm that your hands are dry when handling the plug. Proper power connection not only ensures safe operation but also helps prevent electrical issues or damage to the appliance. Always verify that the electrical outlet is grounded properly to minimize the risk of electrical shock. Additionally, utilizing smart home systems can help monitor and manage your appliances for enhanced safety. Incorporating electrical safety standards can further ensure your setup complies with safety regulations. Taking these simple safety precautions sets a solid foundation for successful bread baking. Ensuring the electrical wiring is up to code can help prevent potential fire hazards and ensure reliable operation.
Select Initial Settings
Once you’ve connected your smart bread maker to power, the next step is to select the initial settings. Your choices impact ingredient freshness and bread texture. First, choose the bread type to match your recipe, whether white, whole wheat, or specialty. Next, set the crust color—light, medium, or dark—for desired crispness. Then, select the loaf size, ensuring ingredient freshness aligns with the recipe’s volume. Adjust the kneading cycle if needed to influence bread texture. Finally, confirm the baking time if your model allows manual adjustments. These settings optimize ingredient freshness and ensure your bread has the perfect texture. Carefully reviewing and customizing these options sets a solid foundation for baking success. Additionally, selecting the appropriate garage door opener can enhance your home’s security and convenience during your baking projects. Properly configuring your smart appliance settings ensures consistent results and maximizes the benefits of your at-home bread maker.
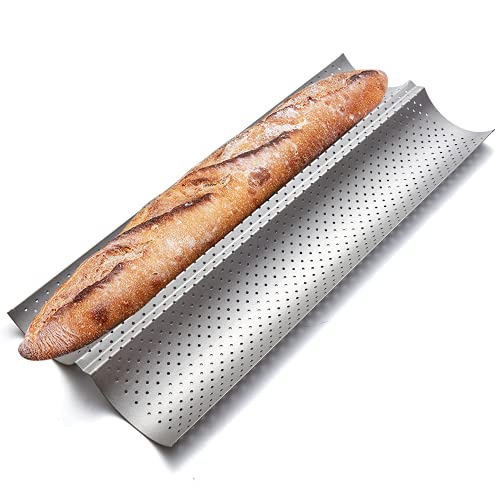
KITESSENSU Nonstick Baguette Pans for French Bread Baking, Perforated 2 Loaves Baguettes Bakery Tray, 15" x 6.3", Silver
Bread Pan for Homemade Bread: No matter if you are a master or a new hand and have…
As an affiliate, we earn on qualifying purchases.
As an affiliate, we earn on qualifying purchases.
Selecting the Appropriate Program and Settings

Choosing the right program and settings on your bread maker is essential for baking perfect bread. Your machine offers various options to match bread types and personal preferences. Start with program selection by choosing the appropriate cycle for your bread (e.g., basic, whole wheat, French). Then, customize settings like crust color and loaf size to suit your taste. Use the table below to understand common options:
| Program | Setting Customization | Ideal For |
|---|---|---|
| Basic | Light/Medium/Dark | White bread |
| Whole Wheat | Loaf size, crust | Whole wheat bread |
| French | Crust, loaf size | French bread |
Adjust these features to guarantee your bread turns out exactly how you want it.
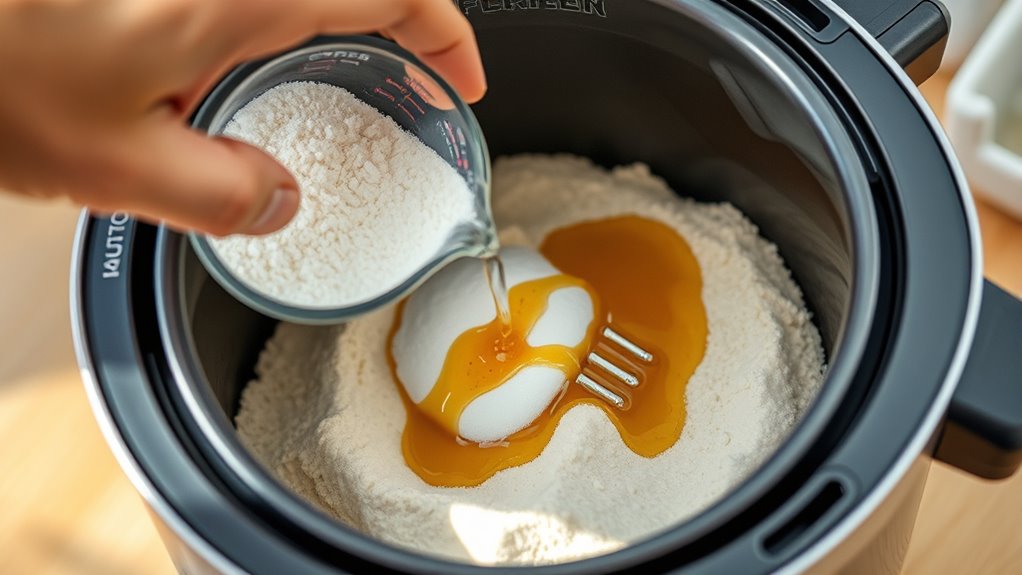
Adding Ingredients in the Correct Order
To get the best results, you need to add ingredients in the right order. Pay attention to the sequence, timing, and measurements to guarantee your bread turns out perfectly. Following these steps helps your bread maker work efficiently and produces consistent, delicious bread every time.
Sequence of Ingredient Addition
Adding ingredients in the correct order is vital for guaranteeing your bread turns out perfectly. This sequence impacts ingredient flavor and ingredient freshness, both essential for a delicious loaf. Follow these guidelines:
- Place liquids first to create a smooth mixing environment.
- Add dry ingredients next, avoiding contact with liquids to prevent clumping.
- Ensure yeast is added last and away from liquids until mixing begins.
- Use fresh ingredients to enhance flavor and improve rise.
- Keep sensitive ingredients, like salt and sugar, separate until mixing starts to prevent unwanted reactions.
Adhering to this order helps your bread maker blend ingredients evenly, maximizing freshness and flavor. Proper sequencing ensures your bread rises well, with the right texture and taste, giving you consistent, professional results.
Timing and Measurement
Have you ever wondered why timing and measurement are so essential when adding ingredients to your bread maker? Precise timing ensures that ingredients combine at the right moment, maximizing their effectiveness. Measurement accuracy is critical to achieving consistent results; too much or too little of an ingredient can affect the bread’s texture and flavor. When adding ingredients, follow the manufacturer’s recommended order and use measuring tools for flour, liquids, and yeast. Be careful to keep dry and wet ingredients separate until it’s time to combine them. Accurate measurement and proper timing help prevent issues like dense bread or uneven rise. By paying close attention to these details, you’ll ensure your bread turns out perfectly every time, with the ideal texture and taste.
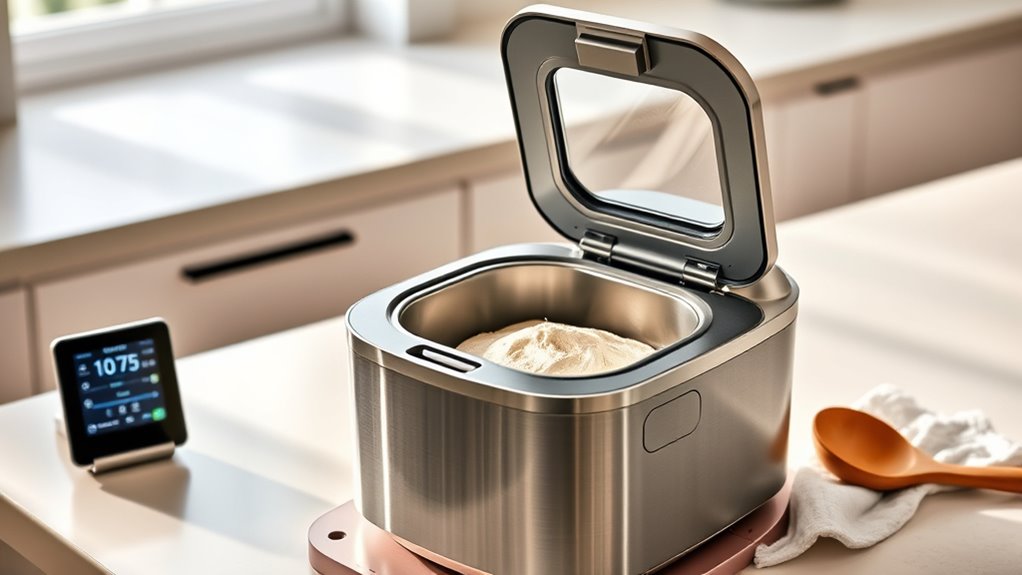
Monitoring the Dough During the Mixing Phase
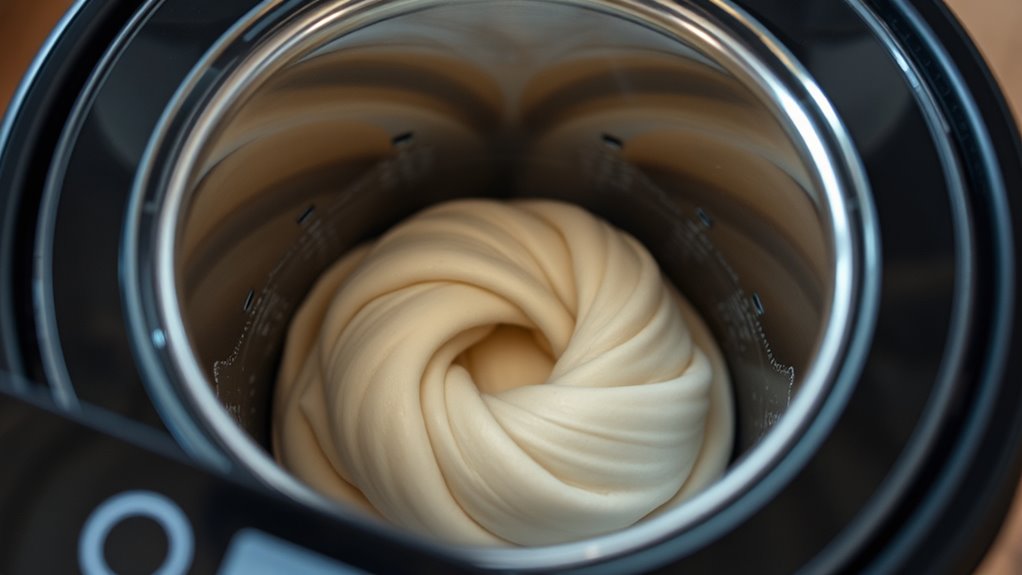
Monitoring the dough during the mixing phase is essential to guarantee it reaches the right consistency. You should observe the dough’s texture closely, ensuring it’s neither too sticky nor too dry. The ideal dough consistency results from a proper mixing duration, so avoid over- or under-mixing. During this phase, keep these points in mind:
- Check for uniform incorporation of ingredients
- Ensure dough is slightly tacky but not overly sticky
- Adjust mixing time if dough is too dry or wet
- Notice if ingredients are fully combined without lumps
- Observe the dough’s elasticity and smoothness
Managing the Proofing and Baking Process
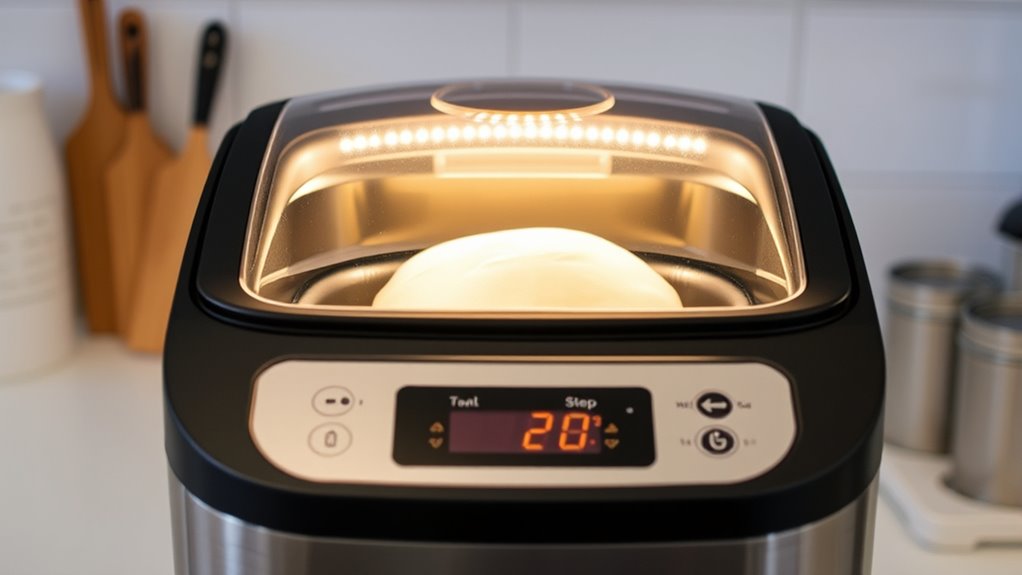
Once the dough has been properly mixed, you can move on to managing the proofing and baking process to guarantee your bread turns out perfect. Use your smart bread maker’s fermentation control features to set the ideal proofing time and temperature for your dough. This ensures proper yeast activity and a good rise. If you prefer a specific crust, adjust the crust preferences setting—light, medium, or dark—to match your taste. Keep an eye on the progress, but trust your machine’s programs for consistency. Properly managing these stages helps develop flavor, texture, and crust quality. Avoid rushing the process, as it can compromise the final result. With careful control, your bread will have the perfect crumb and crust every time.
Removing and Cooling Your Freshly Baked Bread
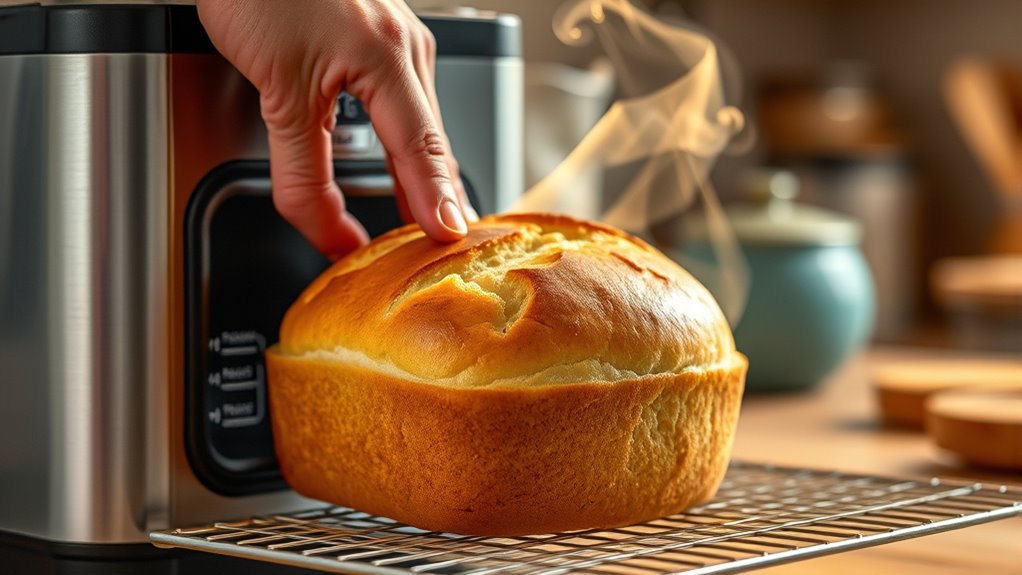
After your bread finishes baking, gently remove it from the bread maker’s pan to prevent condensation from softening the crust. Place the loaf on a cooling rack to allow air circulation and maintain excellent crust textures. As it cools, consider the following tips for proper bread shaping and preservation:
Gently remove bread from the pan and cool on a rack for perfect crust and shape.
- Use a clean towel to cover the bread, preventing moisture buildup.
- Let the bread cool completely before slicing to avoid squishing and preserve crust integrity.
- Handle the bread carefully to keep its shape intact.
- For a crispy crust, avoid covering the bread tightly during cooling.
- Store bread in a paper bag or bread box to retain freshness and crust crunch.
This approach ensures your bread cools evenly, maintaining beautiful shaping and perfect crust textures.
Troubleshooting Common Issues
Even with careful baking, you might encounter some common issues that affect your bread’s texture, appearance, or flavor. If your bread turns out dense or gummy, it could be due to ingredient substitutions that altered the original recipe’s balance, or overmixing the dough. To improve bread texture, make sure you’re measuring ingredients accurately and following recommended substitutions when necessary. If the crust is too hard or too soft, check the bread maker’s settings or baking time. Sometimes, ingredient substitutions like different flours or sweeteners can impact the final outcome. Additionally, using fresh yeast and proper proportions helps prevent issues. Troubleshooting these common problems involves adjusting ingredients, settings, or mixing times to achieve the desired bread texture and a perfect loaf.
Storing and Enjoying Your Homemade Loaf

Properly storing your homemade bread guarantees it stays fresh and delicious for as long as possible. To maximize bread storage, keep your loaf in a cool, dry place, ideally wrapped in a paper bag or cloth to prevent moisture buildup. If you want to extend freshness, consider using an airtight container or resealable plastic bag. When it’s time for bread serving, slice only what you need to avoid unnecessary staling. For longer storage, freeze slices individually and toast them directly from frozen. Remember, proper bread storage preserves texture and flavor, ensuring every slice remains enjoyable.
- Use cloth or paper bags for short-term storage
- Opt for airtight containers or resealable bags for longer freshness
- Slice bread just before serving to prevent staling
- Freeze slices for extended storage, then toast as needed
- Keep bread away from direct sunlight and heat
Frequently Asked Questions
Can I Use Gluten-Free Flour in My Bread Maker?
Yes, you can use gluten-free options in your bread maker, but you’ll need a proper flour substitution. Gluten-free flours like rice, almond, or coconut work well, but they behave differently from regular wheat flour. Make sure to follow a gluten-free bread recipe for best results, and consider adding xanthan gum or guar gum to improve texture and elasticity. Adjusting your settings may also help achieve a better rise.
How Do I Adjust Recipes for Different Bread Sizes?
Imagine your bread as a storybook—larger pages need more words, smaller pages fewer. To modify recipes for different bread sizes, think of ingredient substitutions and baking time adjustments as your story’s chapters. Increase ingredient amounts proportionally for bigger loaves, and extend baking time slightly to ensure thorough baking. For smaller loaves, reduce ingredients and cut baking time. Visualize your bread as a story that needs the right length to turn out perfect.
Is It Safe to Open the Lid During Baking?
It’s best to avoid opening the lid during baking because lid opening can disrupt the bread’s rise and texture. Safety concerns also come into play, as hot steam and surfaces could cause burns. If you must check on your bread, do it quickly and carefully. Keep the lid closed as much as possible to guarantee even baking, safety, and the best results for your bread.
What’s the Best Way to Clean My Bread Machine?
To keep your bread machine in top shape, follow these machine maintenance and cleaning tips. After each use, unplug the machine and wipe down the interior with a damp cloth, avoiding abrasive cleaners. Remove and wash the kneading paddle and bread pan with warm, soapy water. Regularly check for crumbs or residue, and verify all parts are dry before reassembling. Proper cleaning prolongs your bread maker’s lifespan and ensures ideal baking results.
Can I Add Nuts or Dried Fruits During Baking?
Yes, you can add nuts and dried fruits during baking. Most smart bread makers have a beep or a designated add-in window to do this. When the machine signals, open the lid and quickly add your nuts or dried fruits. This prevents them from sinking and guarantees even distribution. Just be sure to chop larger dried fruits or nuts if needed, and follow your bread maker’s instructions for best results.
Conclusion
Now that you know the steps, you’ll be baking perfect bread with your smart bread maker in no time. Did you know that using a bread maker can reduce baking time by up to 30% compared to traditional methods? With the right ingredients, settings, and a little practice, you’ll enjoy fresh, homemade bread anytime. So go ahead, experiment, and savor the delicious results—you’ve got this!