With a smart pressure cooker, you can easily make creamy homemade yogurt, ferment vegetables, and create probiotic-rich dishes. It offers precise temperature control, safety features, and customizable settings to guarantee perfect results every time. You’ll learn how to prepare ingredients, set up your cooker, and troubleshoot common issues for smooth fermentation. Keep experimenting with flavors and recipes—there’s plenty more to discover for delicious, healthy homemade foods. Continue exploring to open all the possibilities your appliance offers.
Key Takeaways
- Utilize the pressure cooker’s yogurt setting for precise temperature control and safe fermentation.
- Prepare high-quality milk and active cultures, then heat and incubate for optimal yogurt texture and flavor.
- Use the control panel to select appropriate modes, monitor cooking times, and ensure safety features are engaged.
- Customize yogurt with flavorings, toppings, or infusions during or after fermentation for variety.
- Experiment with fermentation times and settings to create dairy and fermented foods like sauerkraut or kimchi safely.

De'Longhi La Specialista Opera Espresso Machine – Cold Brew & Espresso Maker with Smart Tamping, Burr Grinder, Milk Steam Wand/Frother & 19-Bar Pressure – For Lattes & Cappuccinos
Perfect, consistent grinding with a built-in grinder with 15 precise settings that ensure optimal single or double dose...
As an affiliate, we earn on qualifying purchases.
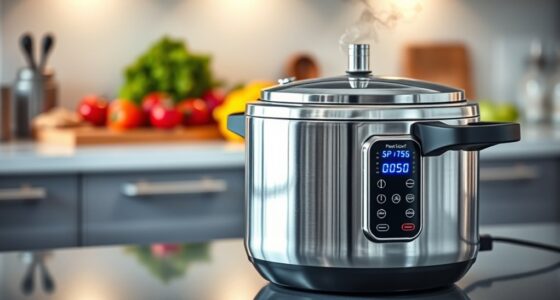
Understanding Your Smart Pressure Cooker: Features and Settings
Understanding your smart pressure cooker begins with familiarizing yourself with its key features and settings. Safety is a top priority, so learn how pressure cooker safety mechanisms work—like the lid lock and venting functions—to prevent accidents. The digital display functions make operating your cooker straightforward; they show cooking times, modes, and error messages. Spend time exploring the control panel, so you’re comfortable selecting programs like yogurt making, steaming, or pressure cooking. Many models have preset buttons, which simplify the process. Knowing how to navigate these features ensures you can operate your cooker confidently and safely. Additionally, understanding safety mechanisms helps prevent common risks associated with pressure cooking. Familiarity with the control panel and how to access different settings can also improve your cooking experience and efficiency. Developing an understanding of pressure levels can help you achieve optimal results for various recipes. Gaining knowledge of how pressure regulation functions within your cooker can further enhance your cooking precision. Recognizing the role of venting and releasing pressure is essential for safe operation and recipe success.

Philips 5500 Series Fully Automatic Espresso Machine, LatteGo Milk System, Integrated Grinder, 20 Hot & Iced Coffee Pre-Sets, Quick Start, SilentBrew, 15-Bar Pressure, Black Chrome (EP5544/94)
20 PRESETS, ENDLESS COMBINATIONS: Hot drinks like espresso, coffee, lattes, and cappuccinos, to iced coffee, or simply hot...
As an affiliate, we earn on qualifying purchases.
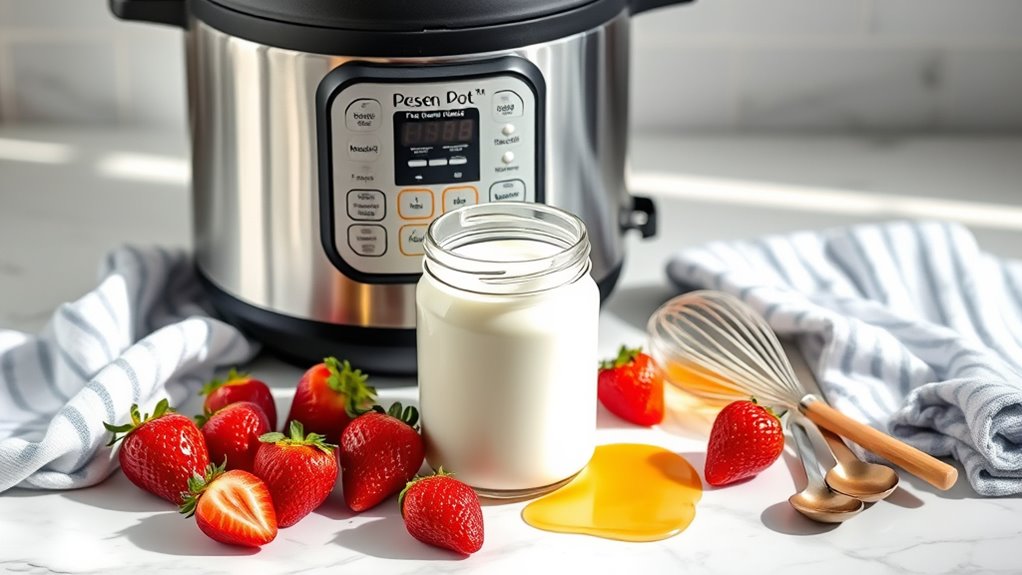
Preparing Ingredients for Homemade Yogurt

To make delicious homemade yogurt, start by gathering high-quality ingredients. Use fresh, plain milk as your base, and choose a good-quality starter yogurt with active cultures. If you plan to add fruit pairing, select ripe, flavorful fruit that complements the yogurt’s tang. Wash and prepare your fruit beforehand to make mixing easier later. For ideal yogurt storage, have clean jars or containers ready to keep your finished product fresh and prevent contamination. Keep in mind that using fresh ingredients ensures better taste and texture. Additionally, understanding the importance of pinball machine weight can help you manage equipment safely if you plan to set up your yogurt-making station on a heavier surface or in a space where weight considerations matter. Being aware of water safety can also be beneficial if you are operating near water sources or in environments where water spills could occur. Maintaining proper food safety practices during preparation is essential to avoid contamination and ensure a healthy, delicious final product. Proper handling and storage of ingredients can also reduce the risk of infection risks, ensuring your yogurt remains safe to consume. Additionally, considering ceiling fan efficiency in your kitchen setup can help regulate temperature and humidity, creating an optimal environment for yogurt fermentation. Once your ingredients are prepared, you’ll be ready to move on to the next step in the yogurt-making process, confident that your base is set for success.

CHEFMAN Indoor Pizza Oven - Makes 12 Inch Pizzas in Minutes, Heats up to 800°F - Countertop Electric Pizza Maker with 5 Touchscreen Presets, Pizza Stone and Peel Included - Stainless Steel
RAPID COOKING: Our electric indoor outdoor pizza oven is perfect for countertop use, quickly cooking up restaurant-quality pizza...
As an affiliate, we earn on qualifying purchases.
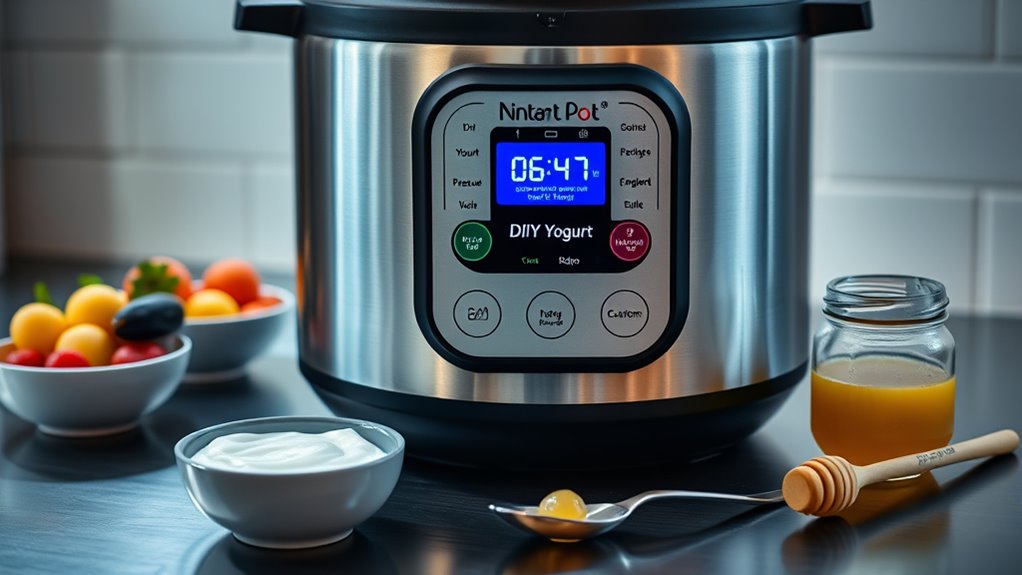
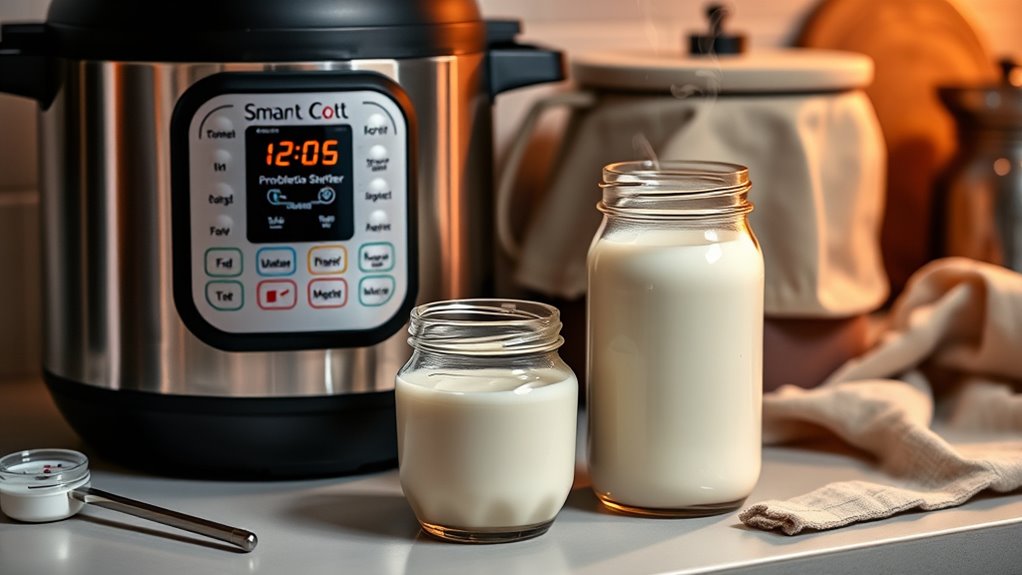
Step-by-Step Guide to Making Yogurt in a Pressure Cooker
Making yogurt in a pressure cooker is straightforward and efficient, especially when you follow a clear process. Start by pouring your prepared milk into the cooker and heating it to the desired temperature. Once cooled, add your starter culture and mix thoroughly using proper culturing techniques to guarantee even fermentation. Cover the cooker with the lid or a clean cloth, and keep it in a warm, undisturbed environment for 8-12 hours. To ensure consistent results, maintain a stable temperature during fermentation, which smart appliances can help automate. After fermentation, transfer the yogurt to storage solutions like glass jars or airtight containers. Store your homemade yogurt in the refrigerator to preserve freshness and flavor. Proper culturing techniques and reliable storage solutions are key to achieving smooth, creamy yogurt with consistent results. Utilizing energy-efficient appliances can further enhance the sustainability of your DIY yogurt-making process, especially when selecting appliances designed for efficient fermentation. Additionally, using appliances equipped with precise temperature controls can help optimize the fermentation process for better texture and taste. Incorporating professional services such as consulting or project management tools can also assist if you plan to scale up your yogurt production or create a dedicated fermentation space.

ROBAM R-Box Pro Countertop Combi Steam Oven White, Air Fryer Toaster Oven with EXP, 1.2 cu. ft. XL Capacity, 1800W Steam Fry Technology, 86-446°F Precision, 32 Presets, Easy-to-Clean Enamel Interior
Versatile Culinary Powerhouse: Simplify your kitchen and reclaim counter space by replacing traditional steamers, ovens, and air fryers...
As an affiliate, we earn on qualifying purchases.
Tips for Perfecting the Texture and Flavor of Your Yogurt
Achieving the perfect texture and flavor in your homemade yogurt often depends on small adjustments and careful attention to detail. Start with proper culturing techniques—maintain a consistent temperature and time to guarantee your yogurt develops the right tang and creaminess. Stir gently before cooling to prevent a grainy texture, and don’t over-culture, which can make it too tangy or slimy. For storage tips, transfer the yogurt to airtight containers and keep it refrigerated promptly. Consume within a week for maximum freshness, and avoid frequent temperature fluctuations. If you want a creamier consistency, try straining your yogurt slightly. Additionally, understanding the tools and equipment involved can help you troubleshoot issues and improve your results. Using the right culturing environment can also make a significant difference in achieving the desired texture and flavor. Maintaining proper temperature control during fermentation is crucial for consistent results, especially since many devices require regular filter maintenance to ensure optimal performance. These practices help enhance flavor, improve texture, and preserve quality, giving you delicious, homemade yogurt every time.
Exploring Other Delicious Recipes to Try With Your Appliance

Your smart pressure cooker is a versatile tool that can do more than just make yogurt. Thanks to fermentation science, you can experiment with recipes like sauerkraut, kimchi, or fermented vegetables, revealing probiotic benefits for gut health. These foods not only boost digestion but also add delicious flavors to your meals. You can even try making fermented beverages like kombucha or water kefir, harnessing the appliance’s precise temperature control. Additionally, you might explore steaming or slow-cooking hearty stews and desserts, expanding your culinary repertoire. The key is understanding how your cooker’s settings influence fermentation and overall food safety. Proper knowledge of lease terms can also help you avoid unexpected costs if you decide to lease or finance additional kitchen appliances or equipment. Moreover, understanding air quality can ensure that your kitchen remains a healthy environment while experimenting with fermentation projects. Being aware of food safety standards is essential when working with fermentation to prevent spoilage and ensure product safety. Paying attention to temperature control is crucial for successful fermentation and maintaining food quality. With some creativity, your appliance becomes a powerhouse for creating nutritious, tasty, and probiotic-rich dishes that support a healthy lifestyle.
Troubleshooting Common Issues During DIY Fermentation
Even with careful attention, fermentation can sometimes present challenges that disrupt the process. If your yogurt isn’t setting properly or has an off taste, the issue often relates to cultivation temperature or fermentation duration. Maintaining the right temperature ensures beneficial bacteria thrive, while too long or short fermentation impacts texture and flavor. Here’s a quick guide to common issues:
| Problem | Solution |
|---|---|
| Yogurt too tangy or sour | Shorten fermentation or lower temperature |
| Yogurt too mild or runny | Extend fermentation time or increase temp |
| No thickening | Check temperature stability |
| Unusual smells or mold | Discard and start over with sanitized equipment |
| Inconsistent results | Uphold consistent cultivation temperature and duration |
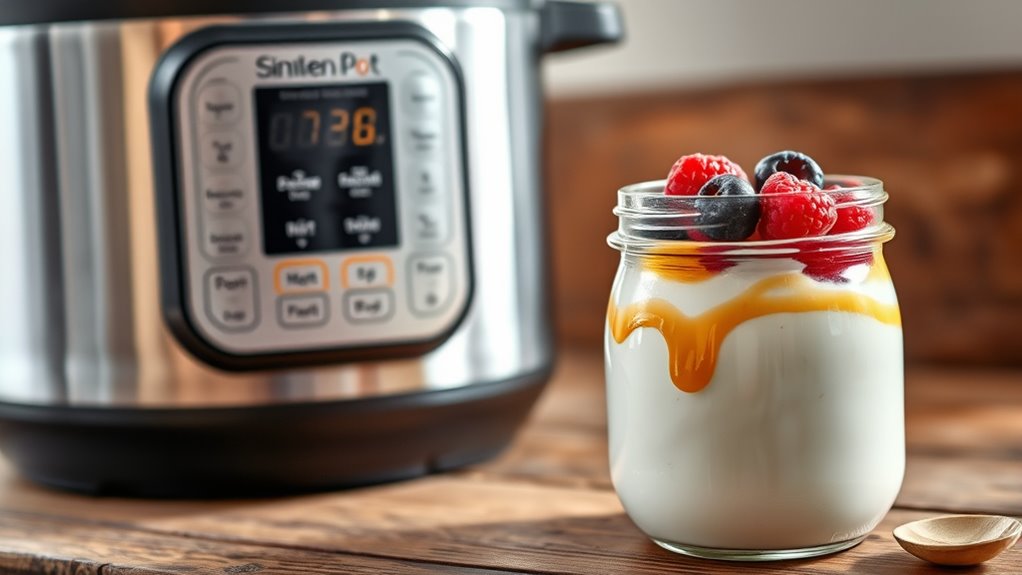
Creative Ways to Customize and Use Your Homemade Yogurt

Once you’ve made your yogurt, you can get creative with flavor mix-ins and toppings to suit your taste. Experiment with sweet options like honey, fruit, or jams, or try savory additions such as herbs or spices. These ideas let you customize your yogurt for any meal or snack, making it uniquely yours.
Flavor Mix-Ins and Topping Ideas
Adding flavor mix-ins and toppings is a simple way to elevate your homemade yogurt and make each serving uniquely delicious. Start with fruit toppings like fresh berries, sliced peaches, or diced mango to add natural sweetness and vibrant color. For a warm, aromatic twist, try spice infusions such as cinnamon, cardamom, or a dash of vanilla extract stirred into the yogurt before serving. You can also layer in chopped nuts or granola for crunch, or swirl in honey or flavored syrups for extra sweetness. These options allow you to customize your yogurt based on your mood or the season. Experimenting with fruit toppings and spice infusions makes every bowl a new experience, keeping your homemade yogurt both exciting and satisfying.
Sweet and Savory Variations
Beyond simple toppings, your homemade yogurt serves as a versatile base for both sweet and savory creations. During yogurt fermentation, you can infuse flavors directly into the yogurt to customize it to your taste. For sweet variations, mix in honey, fruit purees, or fruit preserves after fermentation, ensuring a natural flavor infusion. You can also add spices like cinnamon or vanilla during the fermentation process for a richer flavor. For savory options, incorporate herbs, garlic, or lemon zest into your yogurt as it ferments, creating a tangy, flavorful dip or sauce. These creative flavor infusions elevate your homemade yogurt from a simple snack to a versatile ingredient, perfect for breakfast, snacks, or side dishes. Experimenting with sweet and savory variations makes your yogurt uniquely yours.
Frequently Asked Questions
How Long Does Homemade Yogurt Typically Last in the Refrigerator?
Homemade yogurt usually lasts about 1 to 2 weeks in your refrigerator. Proper yogurt storage is key—keep it in an airtight container and always use clean utensils to avoid contamination. To maximize shelf life, store it at or below 40°F (4°C). Check for signs of spoilage, like an off smell or mold, before eating. Generally, enjoying your yogurt within this timeframe guarantees freshness and safety.
Can I Use Plant-Based Milks to Make Yogurt in a Pressure Cooker?
Yes, you can use plant-based milks to make yogurt in a pressure cooker. Just follow fermentation tips like adding a starter culture and maintaining the right temperature. Keep in mind that plant-based milks may require a bit more stirring or thickening agents to achieve the desired consistency. Use a clean, sterilized container and monitor the fermentation process closely for the best results.
Is It Necessary to Sterilize the Cooker Before Each Use?
You might think sterilizing your cooker each time is tedious, but it’s crucial to prevent bacteria growth. You don’t need to do a full sterilization process every use, but a quick clean with cleaning soap and warm water is essential. Focus on thoroughly cleaning all surfaces to guarantee your yogurt turns out safe and delicious. Regular cleaning helps maintain your pressure cooker’s hygiene and keeps your homemade yogurt tasting perfect.
What Are Some Signs That Yogurt Has Fermented Properly?
You’ll know your yogurt has fermented properly when it thickens and develops a tangy flavor. Look for fermentation indicators like a custard-like consistency and a slight separation of whey, which show active fermentation. To confirm quality, check for a smooth, creamy texture without any sour or off-putting smells. These signs guarantee your homemade yogurt has reached the right stage, giving you confidence in its safety and deliciousness.
Can I Make Flavored or Sweetened Yogurt Using the Pressure Cooker?
Yes, you can make flavored or sweetened yogurt using your pressure cooker. After the fermentation process, stir in your preferred flavor additions, such as fruit purees, vanilla extract, or honey. You have plenty of sweetener options like agave syrup, maple syrup, or stevia. Just mix these in thoroughly before refrigerating, ensuring your yogurt has the perfect balance of flavor and sweetness to suit your taste.
Conclusion
Now that you’ve mastered homemade yogurt with your smart pressure cooker, you’re all set for a world of culinary adventures—except, of course, for the irony that the simplest recipes often require the most attention. While you might think you’re in control, it’s your patience and precision that truly make your creations shine. So, enjoy the process—and remember, sometimes the biggest breakthroughs come from the tiniest, most overlooked details. Happy fermenting!