
To bake perfect bread in a bread maker, choose the right flour like bread flour for a tall, airy loaf, and measure carefully using a digital scale. Add liquids first, then salt and sugar, keeping yeast separate until mixing. Monitor dough texture and adjust with small amounts of water or flour as needed. Use fresh ingredients and maintain proper temperatures, handle and shape the dough gently, and follow your machine’s instructions closely. Discover more tips to elevate your baking.
Key Takeaways
- Measure ingredients accurately using a digital scale and avoid over-packing flour for consistent dough.
- Use the correct water temperature (100-110°F) to activate yeast without killing it.
- Add liquids first, then dry ingredients, and keep yeast separate until mixing begins to ensure proper fermentation.
- Monitor dough consistency during kneading, making small adjustments with water or flour for optimal elasticity.
- Follow your bread machine’s instructions closely, including timing and cycle options, for the best rise and crust.
Choose the Right Flour and Measure Carefully
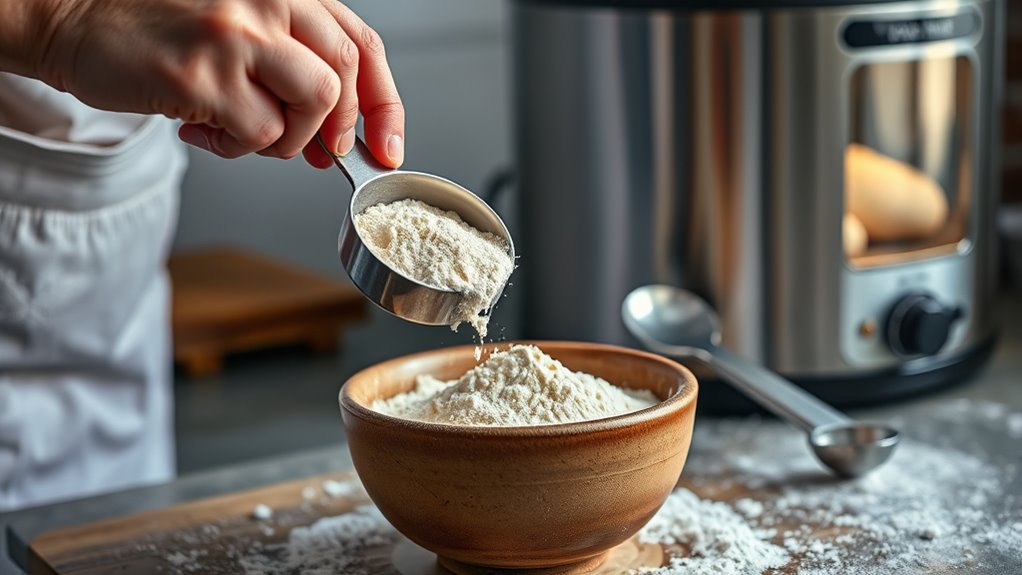
Have you ever wondered why your bread turns out dense or flat? The key is choosing the right flour and measuring it correctly. Bread flour, with its higher gluten content, helps create a tall, airy loaf, unlike all-purpose flour, which produces denser bread. To avoid over-packing, use a ⅓ measuring cup to scoop flour carefully; this prevents excess flour that can weigh down your dough. For consistent results, a digital scale is best—it’s more precise than using cups. Be mindful not to press the flour into the cup, as this adds more than needed. Proper measurement ensures your dough has the right structure and rise, preventing dense or flat outcomes. Accurate measurement in baking is essential for achieving the perfect texture and crumb in your bread. Understanding comparative advantage in resource use can also help optimize ingredient selection for baking efficiency. Additionally, taking the time to properly store flour can prevent moisture absorption and spoilage, ensuring your flour remains fresh for baking. Using standardized measuring techniques can make your baking more reliable and consistent.
Add Ingredients in the Correct Order and Keep Yeast Separate

Adding ingredients in the correct order is essential for a successful bread machine loaf. First, pour in the liquids, like water and oil, to create a proper mixing base. Then, add salt and sugar, which help control yeast activation and flavor development. Next, carefully spoon in the flour, covering the liquids completely. Finally, make a small indentation in the flour and add the yeast, keeping it separate from the salt to prevent premature activation. This order ensures proper dough development and rising. Ensuring the right concentration of ingredients is crucial for optimal fermentation and texture. Additionally, maintaining proper ingredient proportions contributes to consistent bread quality. – Always add liquids first for even mixing – Keep yeast away from salt until added – Cover liquids with flour before adding yeast – Make a small well in flour for yeast – Avoid mixing yeast and salt directly. To further improve your bread, consider the hydration level of your dough, which directly affects the crumb and crust. Proper fermentation process is also vital to achieve the best rise and texture in your bread. Incorporating the correct mixing technique can also enhance gluten development and overall bread structure.
Monitor Dough Consistency and Adjust Liquids or Flour as Needed

Keep an eye on your dough as it kneads; if it looks crumbly or makes loud slapping sounds, it needs more liquid. If it feels sticky or gooey, you should add a little flour gradually. Adjust liquids or flour in small steps, giving each addition time to fully incorporate before checking again. For best results, aim for a desired dough consistency that is smooth and elastic. Remember that modern kitchen technology like smart bread machines can often help monitor and maintain ideal dough conditions automatically.
Recognize Dough Signs
Monitoring dough consistency is essential for achieving the perfect bread texture, and recognizing the signs of over- or under-hydration allows you to make timely adjustments. When observing your dough, look for specific cues to determine if it needs more flour or liquids.
- A crumbly, dry dough that cracks easily signals a need for a small splash of water
- Sticky, gooey dough that sticks excessively to your hands suggests adding a tablespoon of flour
- Smooth, elastic dough that holds its shape indicates proper hydration
- Excessive slapping sounds or loose texture mean you should add a bit more water
- Tight, stiff dough shows it needs more moisture for better extensibility
Adjust Liquids Carefully
Adjusting liquids in your bread dough requires careful attention because small changes can considerably impact the final texture. If your dough feels crumbly or rough, it needs more moisture—you should add water one tablespoon at a time, allowing the dough to absorb it fully before adding more. Conversely, if the dough is sticky or overly wet, sprinkle in flour gradually, about a tablespoon at a time, until it firms up. Keep in mind that flour and liquid levels can vary based on humidity and flour type, so don’t rely solely on measurements; observe how the dough feels. Make adjustments during the kneading cycle when possible, and give the dough a moment to incorporate the additions before reassessing. Proper moisture balance guarantees a light, airy loaf.
Adjust Flour Gradually
When fine-tuning your bread dough, adding flour gradually helps you achieve the perfect consistency. Too much flour too quickly can make your bread dense, while too little causes stickiness. To avoid this, monitor the dough closely as it kneads. If it feels too sticky, add flour in small, 1-tablespoon increments, mixing well before measuring again. Conversely, if the dough is crumbly, incorporate liquids in small amounts until it becomes elastic. Keep an eye on the dough’s texture, adjusting as needed. Remember, absorption varies based on flour type and humidity. Patience is key. Making incremental adjustments prevents overcorrection and ensures your bread develops the ideal crumb structure. Managing dough texture is essential for consistent baking results. Being aware of flour absorption rates and how environmental factors influence dough can help you make better adjustments and achieve bakery-quality bread at home. Additionally, understanding industry trends can inform your baking techniques and ingredient choices for improved outcomes. Recognizing environmental influences, such as humidity and temperature, can further refine your adjustments for optimal results. Incorporating techniques like proper proofing can also contribute to better bread texture and volume.
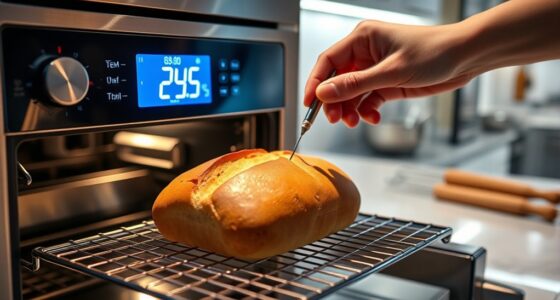
Use Fresh Ingredients and Maintain Proper Temperatures

Using fresh ingredients is essential for achieving the best bread quality in your bread machine. Fresh flour, yeast, and other ingredients guarantee active fermentation and proper rising, resulting in fluffy, well-textured bread. Make sure your water is at the right temperature—around 100-110°F—to activate the yeast without killing it. Cold or hot ingredients can hinder the fermentation process, causing dense or flat loaves. Always check expiration dates; expired yeast loses potency, and stale ingredients can affect flavor and texture. Measure liquids carefully to maintain consistent temperatures during baking. Proper storage of ingredients can also help preserve their freshness and effectiveness. Using fresh, properly stored ingredients and keeping temperatures in check helps your bread rise evenly and develop the best flavor, making every loaf perfect. Additionally, proper maintenance of your bread maker, including regular cleaning and filter checks, ensures consistent performance and better baking results. Regularly inspecting and maintaining your bread machine can prevent common issues and extend its lifespan, ensuring optimal baking performance. Proper maintenance also involves cleaning the kneading paddle and checking for any buildup that could interfere with kneading and rising.
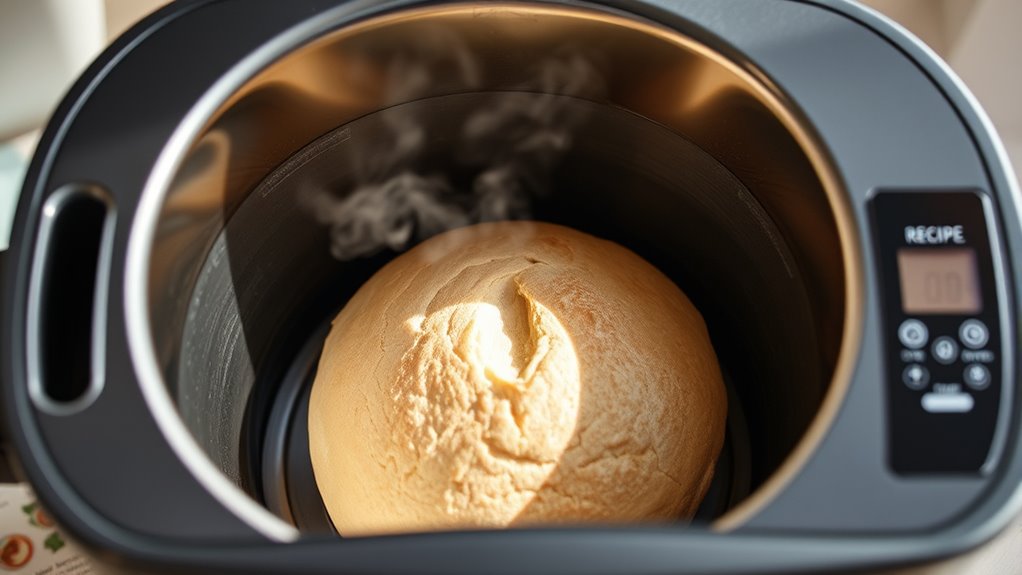
Handle and Shape Dough Properly Before Baking

Proper handling and shaping of the dough are essential steps that influence the final appearance and texture of your bread. When you finish the initial rise, remove the paddle carefully to prevent uneven lopsided loaves. Reshape the dough into a smooth, round ball or loaf shape, ensuring even tension across the surface. Hand-shaping after the first rise creates a more attractive, well-rounded loaf with a nice domed top. Use gentle, consistent pressure to avoid deflating the dough. When transferring to the baking pan or oven, handle with care to prevent damaging the delicate crumb. Proper shaping promotes even baking and a professional look. Additionally, proper handling techniques help maintain the dough’s structure and improve overall bread quality.
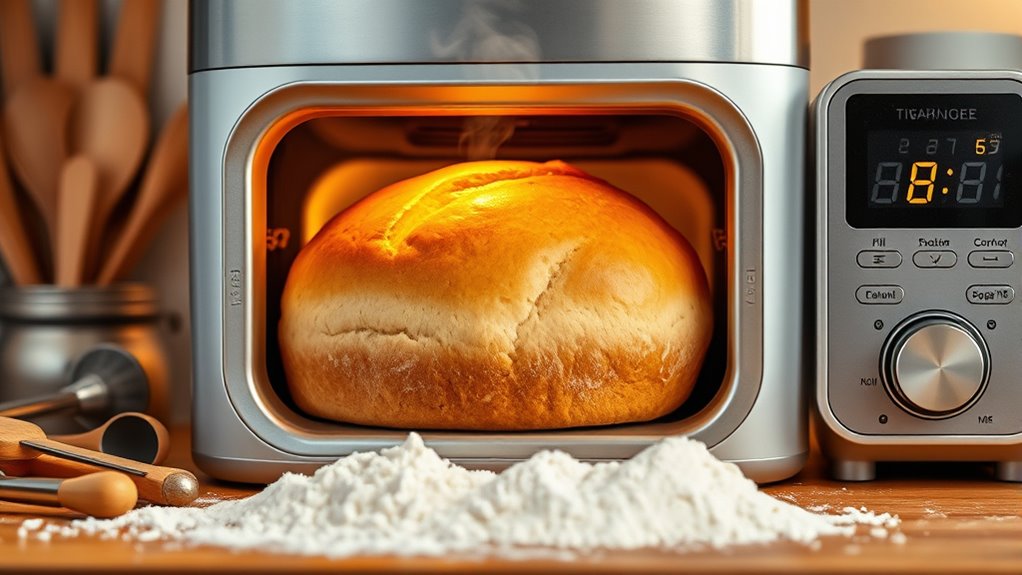
Follow Your Machine’s Instructions and Manage the Cycle Effectively
Following your bread machine’s instructions is key to achieving consistent, high-quality results. Always read the manual thoroughly before starting, as each model has specific steps and cycle options. Manage the cycle by avoiding interruptions; opening the lid during kneading or rising can disrupt gluten development and yeast activity. Use the pause function if you need to check dough consistency or reshape. Some machines offer automatic punch-downs or specific rising settings—use these features as intended for ideal loaf structure. If your machine allows, manually intervene during the cycle, such as reshaping dough during the second rise. Staying attentive to your machine’s recommended settings and timing ensures your bread develops the right texture, rise, and crust, making each bake successful. Additionally, understanding bread machine cycle options can help optimize the baking process for better results. Recognizing the artistic influences in bread making, such as traditional techniques and modern innovations, can also inspire more creative baking. Paying close attention to ingredient quality and measuring accurately further enhances the outcome of your bread. Incorporating appliance maintenance practices can ensure your bread maker continues to operate efficiently, preventing issues that might affect your baking results. Moreover, adopting a systematic approach to your baking routine can lead to more consistent and satisfying outcomes over time.
Frequently Asked Questions
How Does Humidity Affect Bread Machine Baking Results?
Humidity impacts your bread machine baking results by affecting dough consistency. High humidity makes the dough moister and sticky, so you might need to add a little more flour to prevent over-rising or collapsing. Low humidity can dry out the dough, causing it to be crumbly or dense. Adjust your flour or liquid slightly based on the environment, and monitor dough texture during kneading to make sure of perfect results.
Can I Substitute Bread Flour With All-Purpose Flour?
If you substitute all-purpose flour for bread flour, your loaf might be denser and less risen. For example, a home baker tried this and ended up with a heavy, flat bread because all-purpose flour has less gluten. To improve results, consider adding essential wheat gluten or using slightly more flour. Keep an eye on dough consistency, and adjust liquid or flour in small increments for the best texture.
What’s the Best Way to Store Leftover Bread?
You should store leftover bread in an airtight container or resealable plastic bag at room temperature for up to two days. To keep it fresh longer, wrap it tightly in foil or plastic wrap before refrigerating, but note that refrigeration can dry out bread. For longer storage, freeze slices or whole loaf wrapped securely, and toast or warm slices to enjoy whenever you want.
Should I Pre-Warm My Bread Pan Before Adding Ingredients?
Pre-warming your bread pan isn’t necessary and may even hinder your results. Some believe it helps dough rise faster, but in reality, it can cause uneven temperature distribution, affecting the final texture. Instead, focus on using room temperature ingredients and proper yeast activation. Maintaining consistent conditions ensures even rising and a perfect loaf. Trust in proper ingredient temperature and measurement for ideal results, rather than pre-warming the pan.
How Do I Troubleshoot a Loaf That’s Uneven or Lopsided?
To fix an uneven or lopsided loaf, first check your dough’s consistency—make sure it’s not too sticky or dry. Make certain you remove the paddle before the final rise to prevent uneven shaping. Hand-shape the dough into a tight, smooth ball and place it evenly in the pan. Verify the machine is level and stable during baking. Proper shaping and steady placement promote a symmetrical, well-rounded loaf.
Conclusion
By mastering these six tricks, you’ll turn your bread maker into a culinary wizard’s wand, transforming simple ingredients into artisanal loaves. Remember, patience and attention to detail are your secret ingredients—like a maestro conducting a symphony. With practice, each loaf will rise to perfection, proving that even in the world of bread making, magic is just a well-timed step away. So, embrace the process and let your bread-making journey unfold beautifully.