

When your smart refrigerator glitches or becomes unresponsive, start by unplugging it or switching off the circuit breaker for 5–10 minutes to reset its electronics. You may need to perform a model-specific reset or use internal switches as per your manual. Check display settings, reconnect WiFi, and verify temperature and water connections. For more details on troubleshooting and maintenance steps, continue exploring ways to fix your fridge effectively.
Key Takeaways
- Unplug the refrigerator for 5–10 minutes to reset electronic components and clear minor glitches.
- Follow model-specific instructions to perform factory resets via control panels or internal switches.
- Power cycle the unit by unplugging, waiting, then plugging back in to refresh system functions.
- Reset the display by holding button combinations or flipping internal switches as per manufacturer guidelines.
- Reconnect WiFi and network settings, ensuring proper connection to resolve connectivity or display issues.

Power Failure Alarm WiFi, Freezer Power Outage Alarm, Free App Notification
- App Compatibility: Use the correct free app for notifications
- Power Outage Monitoring: Alerts for fridge, freezer, furnace, and more
- Remote Notifications: Get alerts anytime, anywhere via Wi-Fi
As an affiliate, we earn on qualifying purchases.
As an affiliate, we earn on qualifying purchases.
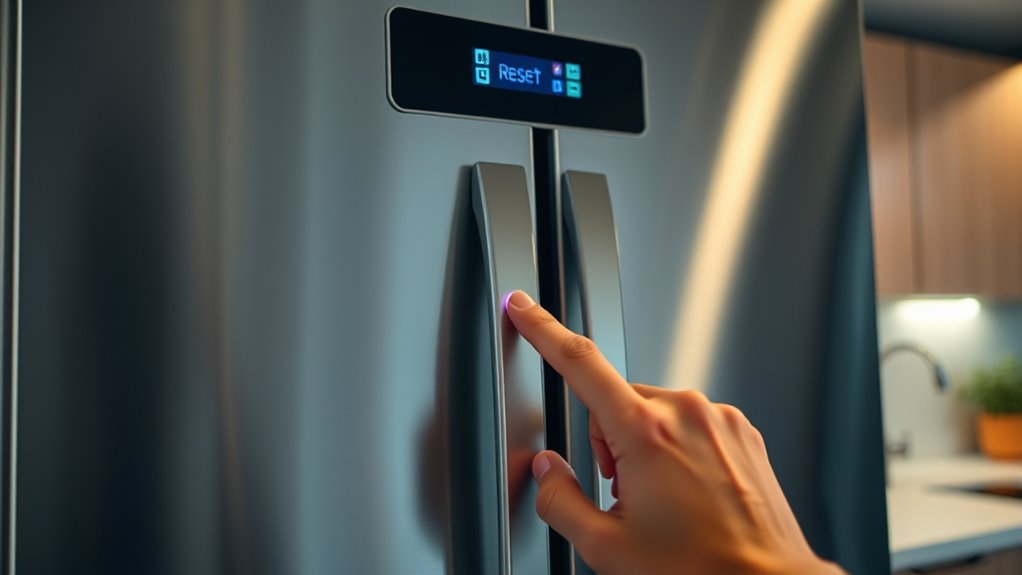
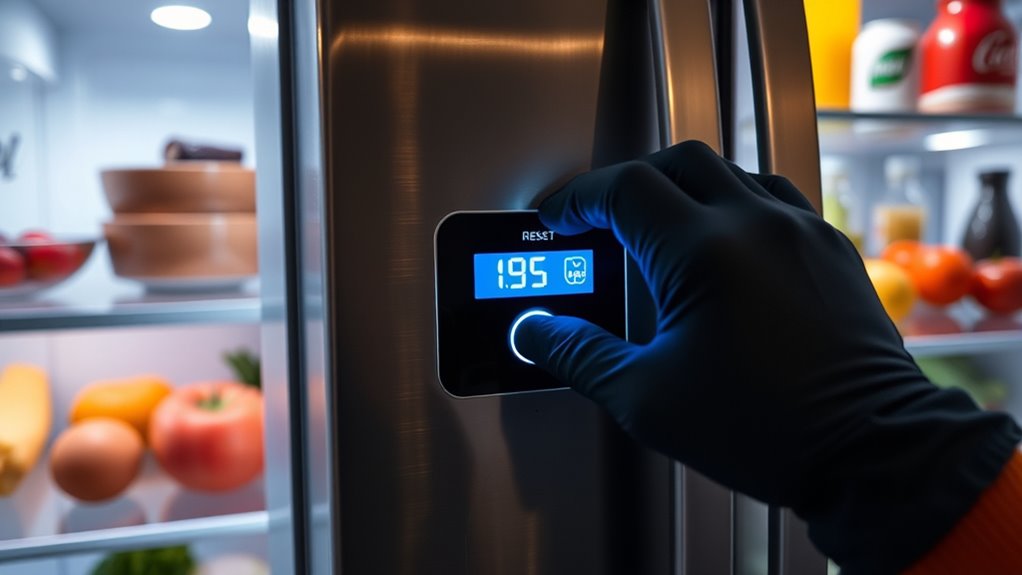
Power Cycle Your Refrigerator

To power cycle your refrigerator, start by unplugging it from the wall outlet or turning off the circuit breaker. This step guarantees the electrical system is fully disconnected. Wait for 5 to 10 minutes, giving the electronic components and capacitors enough time to discharge completely. This pause resets the internal electronics and clears minor glitches. After the wait, reconnect the refrigerator to the outlet or switch the circuit breaker back on. Once powered up, give the system a few minutes to recalibrate. During this time, the refrigerator’s components reset, and its control systems reboot. Power cycling is a simple yet effective way to resolve minor issues, like unresponsiveness or display errors, before exploring more specific reset methods. Properly power cycling your appliance can help maintain optimal performance and prevent the need for professional repairs. Additionally, understanding smart appliance features can aid in troubleshooting and future maintenance. Knowing how to perform a system reset can be beneficial if problems persist.

Power Cord Kit for Car Refrigerator Compatible with Alpicool, Bodega, Euhomy, BougeRV, ARB, ICECO, Setpower, JoyTutus Car Refrigerator Power Adapter
- Compatible Refrigerator Models: Fits Alpicool, Bodega, Euhomy, and more
- Power Adapter Specifications: AC 100-240V, DC 14.5V, 8FT cable
- Car Power Cable Length: 10FT with control switch included
As an affiliate, we earn on qualifying purchases.
As an affiliate, we earn on qualifying purchases.
Use Model-Specific Reset Methods
Many smart refrigerator models have specific reset procedures tailored to their features. For example, Samsung Family Hub models often require navigating to Settings > About Family Hub > Factory data reset to restore factory defaults. Samsung refrigerators with screens might use an internal red switch located on the top of the right door for a quick screen reset. GE models typically display WiFi credentials through the Settings menu on the LCD, and some LG models need specific button combinations instead of a full power cycle. Whirlpool units may activate power cool mode by holding the temperature button for three seconds. Always consult your user manual for precise instructions, as using the wrong method can cause further issues or fail to reset the system effectively. Understanding smart appliance troubleshooting can help you identify and resolve common glitches more effectively. Additionally, some models may require software updates to fix persistent glitches or improve functionality. Performing a firmware reset can also resolve software-related problems on certain models, which is especially important when addressing glitches or malfunctions that persist after basic resets. Regularly checking for updates and maintenance can help prevent future issues and ensure optimal performance.
Samsung Family Hub factory reset
As an affiliate, we earn on qualifying purchases.
As an affiliate, we earn on qualifying purchases.
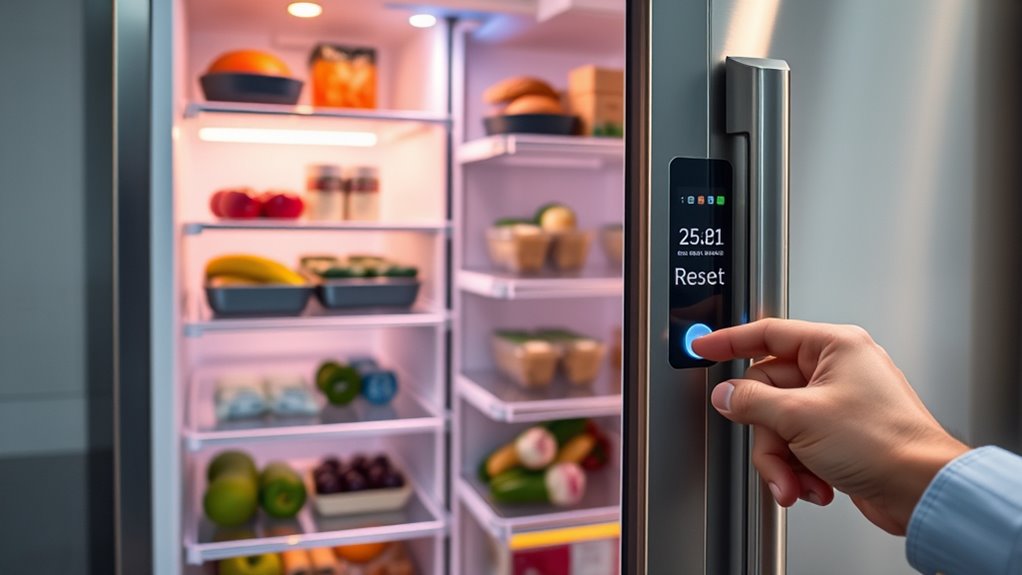
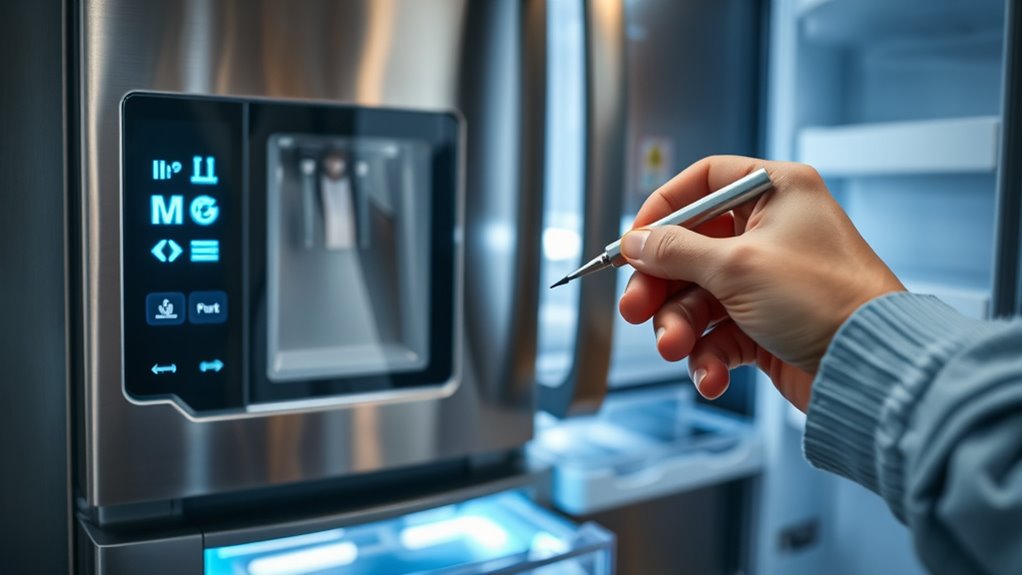
Reset the Refrigerator’s Screen or Display

If your refrigerator’s display becomes unresponsive or glitchy, resetting the screen can often resolve the issue. First, locate the reset switch or button, which is usually inside the refrigerator’s top or behind the display panel. For some models, you may need to press and hold a specific button combination, such as holding “Menu” and “Power” simultaneously for several seconds. Others might have a dedicated red or reset button near the display. If your model has a red switch inside the right door, flip it off for a few seconds then turn it back on. For touchscreen models, a simple power cycle—unplugging the fridge, waiting a few minutes, then plugging it back in—can also reset the display. Always consult your user manual for model-specific instructions. Knowing how to perform a proper display reset can help prevent further issues and keep your refrigerator functioning smoothly. Additionally, ensuring the power supply is stable and free of interruptions can help maintain the display’s performance, especially since some models rely heavily on a consistent electrical connection for optimal operation. Regularly checking and securing the electrical connections can also help avoid unexpected glitches. Being aware of power fluctuations can further safeguard your appliance’s electronics.

Wi-Fi Smart Power Failure Alarm with Surge Protector, Remotely Monitor and Control Your Refrigerator Via App, Ensuring The Safety of Refrigerator and Food Stored Inside
- Wi-Fi Compatibility: Supports 2.4G WiFi only
- Remote Monitoring: Monitor device status via GeniLife app
- Real-Time Alerts: Receive notifications for power issues
As an affiliate, we earn on qualifying purchases.
As an affiliate, we earn on qualifying purchases.
Reconnect to WiFi and Network Settings
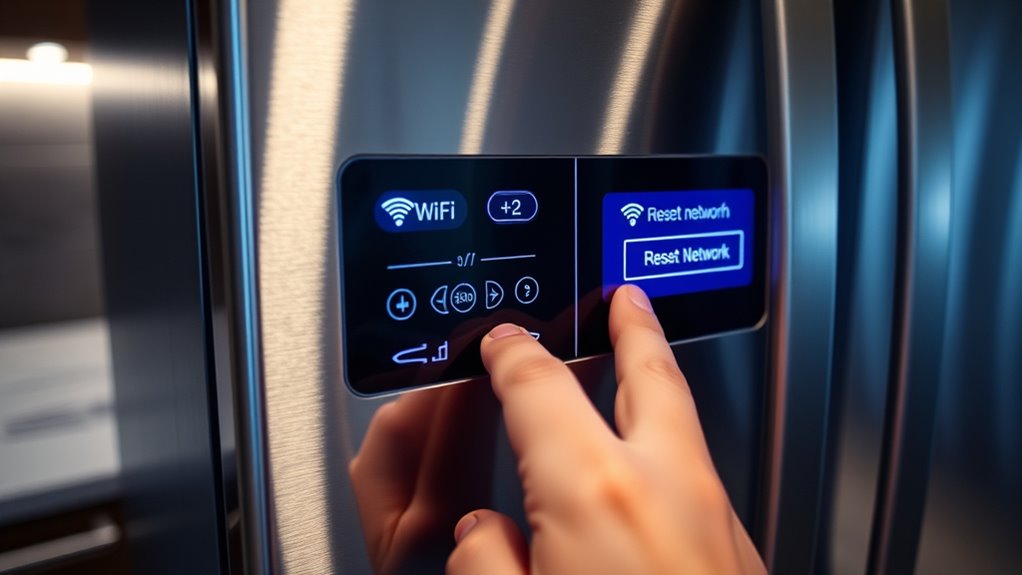
When reconnecting your smart refrigerator to WiFi after a reset, start by accessing the network settings menu on the appliance’s display. Locate the WiFi or network option, then select it to view available networks. If your refrigerator prompts for a password, re-enter it carefully, ensuring you input the correct credentials. Some models may display a “Connection Failed?” message if the password is incorrect or the network is unreachable. Use the display to retry entering the password or select your network again. Confirm the connection status, which often shows as a solid LED or a “Connected” message. If the connection still fails, restart your router and repeat the process. Once connected, check for stability by observing if the appliance maintains the network connection without interruptions. Additionally, ensure your network security settings are compatible with the refrigerator’s connectivity requirements for a smoother connection. Being aware of your network compatibility can help prevent ongoing connectivity issues and improve overall device performance. Also, verifying that your network’s bandwidth capacity meets the refrigerator’s data needs can further enhance connection stability. To optimize your experience, consider reviewing your network’s signal strength and placement to ensure a reliable connection. Regularly updating your firmware can also help improve the device’s connectivity performance.
Verify and Adjust Temperature Settings

After reconnecting your refrigerator to the WiFi network, it’s important to verify that the temperature settings are correct and haven’t reset to default. Check the control panel or LCD screen for current temperatures. If adjustments are needed, follow these steps:
After reconnecting WiFi, verify your refrigerator’s temperature settings to ensure they remain within recommended ranges.
- Access the temperature settings menu on your display.
- Confirm that the refrigerator is set between 37–40°F, and the freezer is at 0°F.
- Adjust each setting if they’re outside these recommended ranges.
- For optimal performance, ensure your refrigerator’s ventilation system is functioning properly to prevent overheating and maintain consistent temperatures.
- Regular maintenance and proper airflow can help sustain accurate temperature readings and prolong your appliance’s lifespan. Ensuring proper air circulation within the fridge can also prevent temperature fluctuations.
- To maintain accurate temperature control, it’s helpful to periodically monitor the thermometer and compare readings to the display to catch any discrepancies early. Additionally, understanding your refrigerator’s temperature calibration features can help fine-tune settings for optimal operation.
Ensure the new settings are saved before exiting. Resetting can sometimes revert temperatures, so double-check both compartments. Proper temperature control keeps your food fresh and prevents spoilage. If settings don’t hold, you might need to revisit the reset process or consult your manual.
Deactivate Demo or Showroom Mode
Demo or showroom mode is often activated to showcase your refrigerator’s features, but it can interfere with normal operation and temperature settings. To deactivate it, start by checking your user manual for model-specific instructions. Many refrigerators allow you to turn off demo mode through the settings menu on the control panel or display screen. For some models, you may need to press and hold certain buttons simultaneously—like the refrigerator and freezer temperature buttons—for several seconds. Others might require browsing to the settings or setup options and selecting “Demo Mode” to disable it. If your fridge has a physical switch, locate and toggle it off. Once deactivated, verify that the display no longer shows demo mode indicators, and confirm your fridge resumes normal cooling and functioning. Additionally, security zone info can sometimes help troubleshoot issues with smart appliances, including resetting procedures. Understanding smart appliance features can also aid in managing and troubleshooting your refrigerator effectively. Being familiar with control panel options can simplify the process of exiting demo mode and restoring regular operation, especially if it offers reset functions or specific reset procedures.
Check Water and Ice Maker Connections
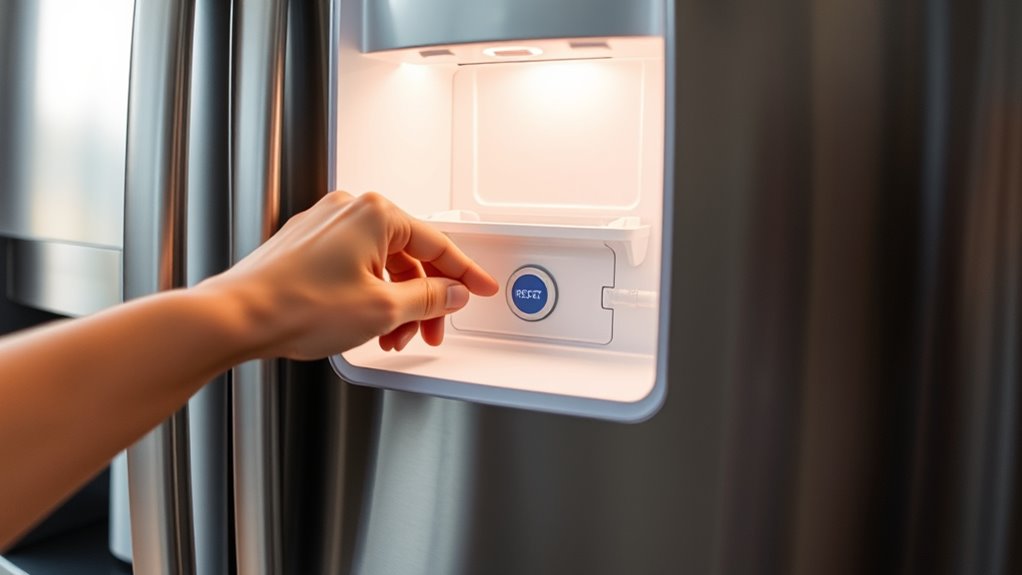
Start by inspecting the water line to guarantee it’s properly connected and not kinked or damaged. Confirm that the water shutoff valve is fully open to allow water flow to the ice maker. If needed, remove and reinstall the water filter to make sure it’s seated correctly and functioning properly.
Inspect Water Line Properly
Inspecting the water line connections is essential to make certain your ice maker functions properly. First, turn off the water supply by closing the shutoff valve. Next, check the water line for any kinks, leaks, or cracks that could disrupt flow. Finally, ensure the connection to the ice maker is secure and properly seated.
Here’s what you should do:
- Turn off the water supply and disconnect the water line from the ice maker.
- Inspect the line and fittings for damage or blockages.
- Reconnect everything firmly and reopen the shutoff valve to restore water flow.
Taking these steps helps prevent water flow issues that could hinder ice production or cause malfunctions. Always verify connections are tight before testing your ice maker again.
Confirm Water Shutoff Valve
Before reconnecting the water line to your ice maker, it’s important to verify that the water shutoff valve is fully open. Turn the valve counterclockwise until it stops to ensure unobstructed water flow. A partially closed valve can cause low water pressure, resulting in poor ice production or leaks. Check for any signs of leaks or drips around the valve or connection points. If you notice issues, tighten fittings carefully but avoid over-tightening, which can damage the valve. Make sure the water supply line is securely attached and free of kinks or bends that could restrict flow. Confirming the valve’s open position and secure connections helps ensure your ice maker receives proper water supply after the reset.
Reinstall Water Filter
Reinstalling the water filter is a crucial step to guarantee your ice maker functions properly after a reset. First, verify the filter is aligned correctly with the housing. Then, follow these steps:
- Insert the filter firmly until it clicks into place.
- Turn the filter clockwise to secure it tightly.
- Run water through the dispenser for a few minutes to flush out any air or debris.
This process helps maintain water flow and prevents clogs. Check for leaks around the filter area, and confirm the water line connections are secure. If your ice maker still isn’t producing ice, consider replacing the filter altogether. Proper installation ensures your refrigerator’s water and ice systems work smoothly after resetting.
Troubleshoot Common Glitch Symptoms
When your smart refrigerator exhibits glitch symptoms, it’s essential to identify the specific issue to determine the best solution. First, check if the display panel is unresponsive or shows error messages—these can signal software or connectivity problems. Listen for unusual noises or if the cooling seems inconsistent, indicating compressor or fan issues. If the ice maker isn’t working or water isn’t dispensing properly, inspect water lines and filters. For WiFi or app connectivity issues, verify your network connection and re-enter passwords if needed. When you notice touchscreen malfunctions or temperature inconsistencies, reset the appliance to clear temporary glitches. Document any error codes or abnormal behaviors to help with troubleshooting or when contacting support. Accurate diagnosis ensures you apply the right reset or repair steps.
Perform Preventative Maintenance and Regular Checks
You should schedule regular cleaning of your refrigerator to keep it running efficiently and prevent buildup. Monitoring and adjusting temperature settings guarantees your food stays fresh and the appliance functions properly. Consistent checks help catch potential issues early, saving you time and costly repairs.
Schedule Regular Cleaning
Regular cleaning and scheduled maintenance are essential to keep your smart refrigerator running efficiently and prevent costly repairs. To do this effectively, follow these steps:
- Clean condenser coils every 6 to 12 months to improve airflow and cooling efficiency.
- Wipe down door seals weekly to ensure a tight seal, preventing cold air leaks.
- Empty and clean drip pans and water filters as recommended by your manufacturer to avoid mold and odors.
Monitor Temperature Settings
Keeping a close eye on your refrigerator’s temperature settings helps maintain ideal freshness and prevents spoilage. Regularly check the LCD display or control panel to verify the fridge stays at the recommended 37°F (3°C) and the freezer at 0°F (-18°C). After a reset, these settings can revert to defaults, so confirm and adjust as needed. Use the appliance’s control buttons or touchscreen to make precise changes. Avoid leaving the temperature too high, which risks spoilage, or too low, which wastes energy. Record your preferred settings for quick reference. Consistent monitoring helps catch issues early, especially after resets or glitches. Proper temperature management ensures your food stays fresh and your appliance functions efficiently.
Frequently Asked Questions
How Often Should I Reset My Smart Refrigerator to Prevent Glitches?
You should reset your smart refrigerator only when you notice glitches or performance issues, not on a regular schedule. Resetting too often can disrupt settings and cause unnecessary wear. Instead, perform a reset when features malfunction, connectivity problems occur, or the system becomes unresponsive. Regular maintenance, like cleaning coils and checking connections, helps prevent issues. If problems persist after a reset, contact support for further diagnostics.
Can Resetting Erase All My Custom Settings and Preferences?
Resetting your smart refrigerator can erase your custom settings and preferences, resetting the fridge to factory defaults. You might lose personalized temperature settings, saved WiFi passwords, and specific display configurations. To prevent frustration, document your preferences beforehand. Remember, a reset is like hitting a reset button on your device—sometimes necessary but often requiring reconfiguration. Stay prepared by saving your settings, so you can restore your personalized environment quickly afterward.
What Should I Do if the Reset Doesn’T Fix the Issue?
If resetting your refrigerator doesn’t fix the issue, first check for any error messages or warning lights on the display. Make certain all doors are properly closed and the appliance is level. Verify power supply and connections, including water lines if relevant. Consult your user manual for troubleshooting steps specific to your model. If problems persist, contact customer support or a professional technician to diagnose and repair the appliance properly.
Is It Safe to Reset My Refrigerator if It’s Still Under Warranty?
Think of your refrigerator’s warranty as a safety net catching you if things go wrong. You can safely reset your fridge while it’s under warranty, but be cautious. Follow the manufacturer’s guidelines to avoid voiding it, and avoid any repairs or resets that aren’t recommended. If you’re unsure, contact customer service first. This way, you keep the safety net intact while giving your appliance a fresh start.
Are There Any Risks of Damaging My Fridge During a Reset?
You won’t damage your fridge during a reset if you follow the proper steps. Just unplug it, wait 5-10 minutes, and reconnect power, allowing the system to fully reset. Avoid forcefully disconnecting or using excessive force on buttons, as that could harm internal components. If you’re unsure, consult your manual or contact a professional. Properly performing a reset helps prevent damage and guarantees your fridge functions correctly afterward.
Conclusion
Regularly resetting your smart refrigerator helps keep it running smoothly, much like tuning a fine instrument. By staying attentive to small quirks and performing simple resets when needed, you guarantee it continues to serve you well. Think of these steps as gentle adjustments that preserve your appliance’s harmony. With a little care and patience, your refrigerator can stay in tune, quietly supporting your daily routines without missing a beat.