
To make juicy air fryer chicken breasts, start by selecting even-sized, boneless, skinless pieces and pound them to about 1 inch thickness for even cooking. Season simply with salt, pepper, and herbs or coat with breadcrumbs for crunch. Preheat your air fryer to 390°F, cook for 10-15 minutes, flipping halfway, until the internal temp reaches 165°F. Remember to rest the chicken before slicing. Continue exploring steps to perfect your method and enjoy flavorful, moist chicken every time.
Key Takeaways
- Pound chicken breasts to about 1 inch thickness for even cooking and maximum juiciness.
- Preheat the air fryer to 390°F for 3-5 minutes to ensure optimal cooking conditions.
- Season chicken simply with salt, pepper, and garlic powder, or your preferred herbs and spices.
- Cook for 10-15 minutes, flipping halfway, until internal temperature reaches 165°F for safety and juiciness.
- Rest the chicken for 5 minutes after cooking, then slice against the grain to enhance tenderness and moisture.

Tyson Grilled & Ready Fully Cooked Oven Roasted Diced Chicken Breast, 22 oz. (Frozen)
One 22 oz. package of Fully Cooked Oven Roasted Diced Chicken Breast
As an affiliate, we earn on qualifying purchases.
As an affiliate, we earn on qualifying purchases.
Selecting the Perfect Chicken Breast and Preparing It for Air Frying
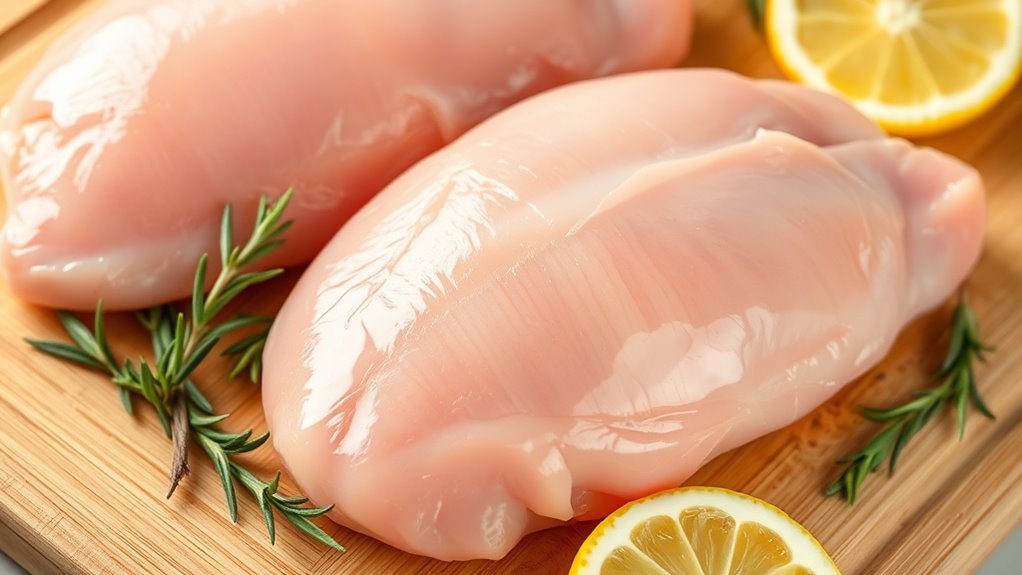
Choosing the right chicken breast is key to achieving juicy, flavorful results in your air fryer. Look for fresh, boneless, skinless breasts that are evenly sized for consistent cooking. Avoid overly thick pieces; if needed, pound them to an even thickness of about 1 inch to promote even heat distribution. Remove any excess fat or connective tissue to prevent off-flavors. Rinse the chicken briefly and pat it dry with paper towels—moisture on the surface can cause steaming instead of crisping. If you want to enhance moisture and tenderness, consider a brief brine or marinate, but for plain chicken breasts, proper drying and even thickness are essential. Preparing the chicken properly ensures it cooks evenly, stays juicy, and develops a perfect crispy exterior. Additionally, understanding the importance of color accuracy can help you select the best visual cues during cooking to ensure perfect doneness. Paying attention to the cooking temperature and time can also improve your results and prevent overcooking or undercooking.

Amazon Grocery, Chicken Breast Fillets Value Pack, Boneless Skinless, 100% Natural, Weight Varies
One value pack tray of boneless, skinless chicken breast fillets weighing between 4.5 and 5.5 pounds
As an affiliate, we earn on qualifying purchases.
As an affiliate, we earn on qualifying purchases.
Seasoning and Coating Options for Juicy Results

Seasoning and coating options play an essential role in enhancing the flavor and texture of your air-fried chicken breast. You can keep it simple with just salt, pepper, and garlic powder for a clean, classic taste. For more flavor, try paprika, cumin, or chili powder to add warmth and depth. Herb blends like thyme, rosemary, or Italian seasoning boost freshness. Coatings like whole-grain breadcrumbs, crushed crackers, or panko create crispy exteriors. Parmesan cheese adds a savory touch, especially when combined with herbs. For moisture and extra flavor, consider soaking the chicken in buttermilk before seasoning. You can also add a light dusting of flour or cornstarch to help coatings adhere better and create a crisp outer layer. Incorporating energy-efficient appliances can further enhance your cooking experience and promote sustainability. Using natural insulation techniques in your kitchen setup can help conserve energy and improve overall efficiency. Incorporating sound therapy principles can make your cooking environment more relaxing and enjoyable. Experiment to find your favorite flavor combinations. Additionally, choosing modern kitchen technology like smart appliances can streamline your cooking process and ensure consistent results.

Alpha Grillers Meat Thermometer Digital – Instant Read Food Thermometer for Cooking & Grilling – Professional Kitchen Birthday Gifts for Men, Him, Dad, Husband, Boyfriend
Instant Read Food Thermometer | Our instant read thermometer features a temperature probe and advanced, highly accurate technology…
As an affiliate, we earn on qualifying purchases.
As an affiliate, we earn on qualifying purchases.
Setting Up Your Air Fryer and Cooking Parameters
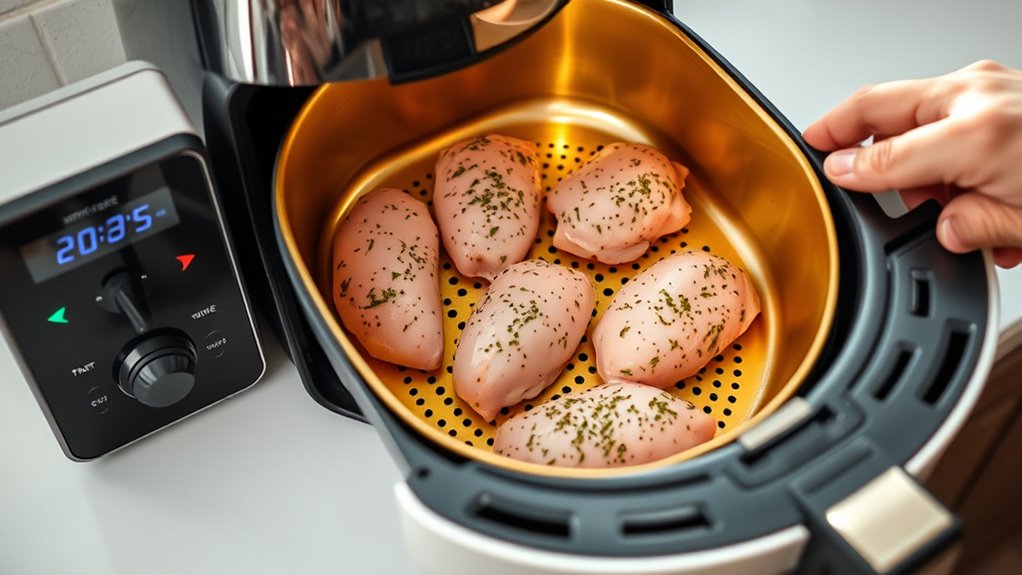
To achieve perfectly cooked and juicy air fryer chicken breast, start by setting your appliance to a temperature of 390°F. This temperature guarantees the chicken cooks evenly while retaining moisture. Preheat the air fryer for about 3-5 minutes to stabilize the temperature and promote even cooking. For best results, place the chicken in a single layer in the basket, leaving space around each piece for air circulation. Adjust the cooking time between 10 to 15 minutes, depending on thickness. Flip the chicken halfway through to ensure even browning. Use a meat thermometer to verify the internal temperature reaches 165°F for safe, juicy results. Proper setup and precise parameters guarantee tender, flavorful chicken every time.

Progresso Bread Crumbs, Italian Style, Cooking Ingredient, 15 oz
BREAD CRUMBS: Add a toasty, crispy, satisfying crunch to your culinary creations; Great for cooking, baking, frying, and…
As an affiliate, we earn on qualifying purchases.
As an affiliate, we earn on qualifying purchases.
Monitoring Cooking Time and Achieving the Ideal Crispy Exterior

Monitoring the cooking time is essential for achieving that perfect crispy exterior without overcooking the chicken. Use a timer to track the 10-15 minute range, depending on thickness. Check for doneness by slicing into the thickest part; the juices should run clear. For crispiness, flip the chicken halfway through and spray lightly with oil if needed. Keep an eye on the texture—overcooking leads to dryness, undercooking affects safety. Proper load‑planning and attention to temperature help ensure consistent results. An understanding of character development in storytelling can be likened to balancing cooking time and texture in recipes. Additionally, utilizing smart kitchen appliances can aid in precise temperature control and timing, leading to better results. Incorporating connected equipment into your cooking process can enhance accuracy and consistency. Here’s a quick reference:
| Time Range | Temperature | Texture Outcome |
|---|---|---|
| 10 minutes | 390°F | Slightly softer, less crispy |
| 12 minutes | 390°F | Crispy exterior, juicy |
| 15 minutes | 390°F | Overcooked, dry interior |
| 11-13 minutes | 390°F | *Ideal* crispy, moist |
Adjust based on thickness and desired crispiness.
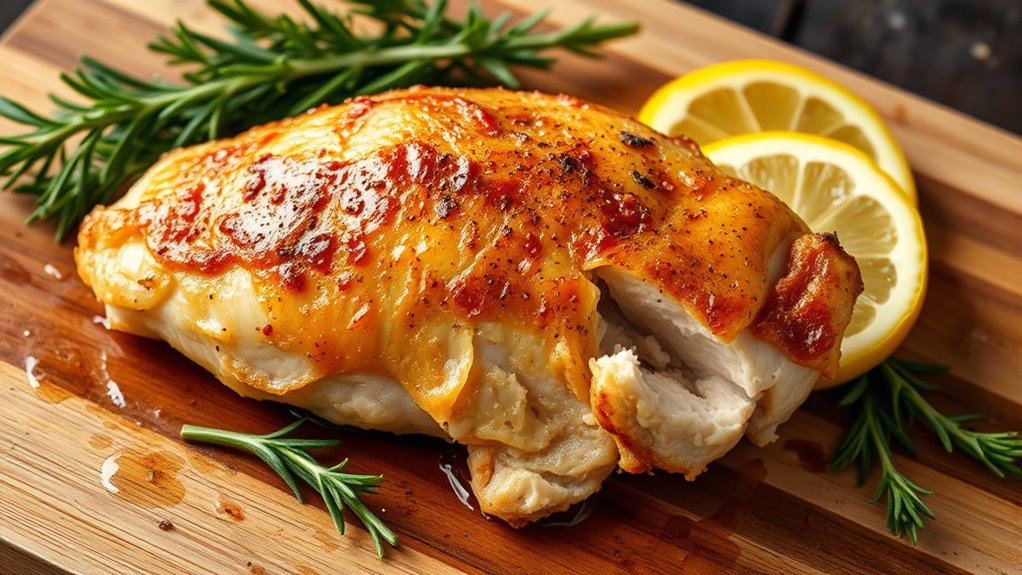
Resting and Serving Your Chicken Breast for Maximum Juiciness
Letting your chicken rest for a few minutes after cooking helps the juices redistribute, ensuring every bite stays moist. Proper serving techniques, like slicing against the grain, also enhance tenderness and flavor. When you give your chicken this extra care, it’s easier to enjoy that juicy, perfectly cooked result. Additionally, understanding cooking techniques can help you achieve consistently tender and flavorful chicken. Incorporating resting your meat can significantly improve the juiciness and overall quality of your dish, which is especially important for maintaining optimal texture and taste in support breakfast recipes. Practicing simple systems for resting and serving can make this step an effortless part of your routine. Knowing proper meat handling practices can further enhance your results and prevent unnecessary dryness.
Resting Time Benefits
Resting your chicken breast after cooking is essential for locking in its juices and ensuring maximum tenderness. When you let it rest, the muscle fibers reabsorb moisture that might have escaped during cooking, resulting in a juicier bite. If you slice into it immediately, the juices runoff, leaving the meat dry and less flavorful. Resting also allows the internal temperature to stabilize, preventing overcooking when you cut into it. Typically, a rest of 5 to 10 minutes is enough for a chicken breast. During this time, the meat remains warm and the juices redistribute evenly throughout. This simple step makes a noticeable difference in texture, ensuring every bite stays moist, tender, and delicious. For suitable results, cover the chicken loosely with foil while it rests. Resting time is a key factor in maximizing juiciness and flavor, and understanding the importance of resting periods can greatly improve your cooking outcomes. Additionally, using a meat thermometer can help determine the optimal resting point for perfect doneness.
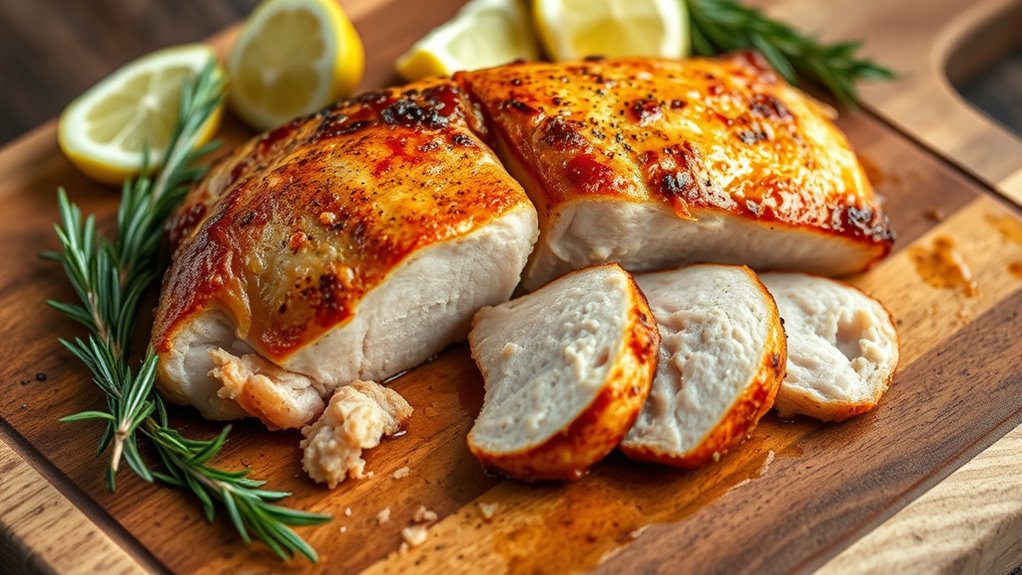
Proper Serving Techniques
For the juiciest chicken breast, it’s essential to focus on proper serving techniques that preserve moisture and flavor. After cooking, let your chicken rest for 5 minutes to allow the juices to redistribute, preventing them from escaping when you cut into it. Resting allows the juices to settle and enhances overall tenderness. Slice against the grain to ensure each piece stays tender and moist. Serve your chicken on a warm plate to maintain its temperature, and consider adding a light drizzle of juices or a squeeze of fresh lemon for extra flavor. Avoid slicing immediately after cooking, as this causes juices to run out. Proper presentation and gentle handling help keep your chicken juicy and flavorful, making each bite satisfying and wholesome. Incorporating proper serving techniques can significantly enhance the overall tenderness and juiciness of your chicken. Additionally, using temperature control during resting can further improve moisture retention and prevent overcooking. Implementing cooking timing strategies ensures optimal juiciness and avoids drying out your meat. Using a reliable vacuums can also help in prepping ingredients and keeping your workspace clean for an efficient cooking process.
Creative Serving Ideas and Nutritional Benefits
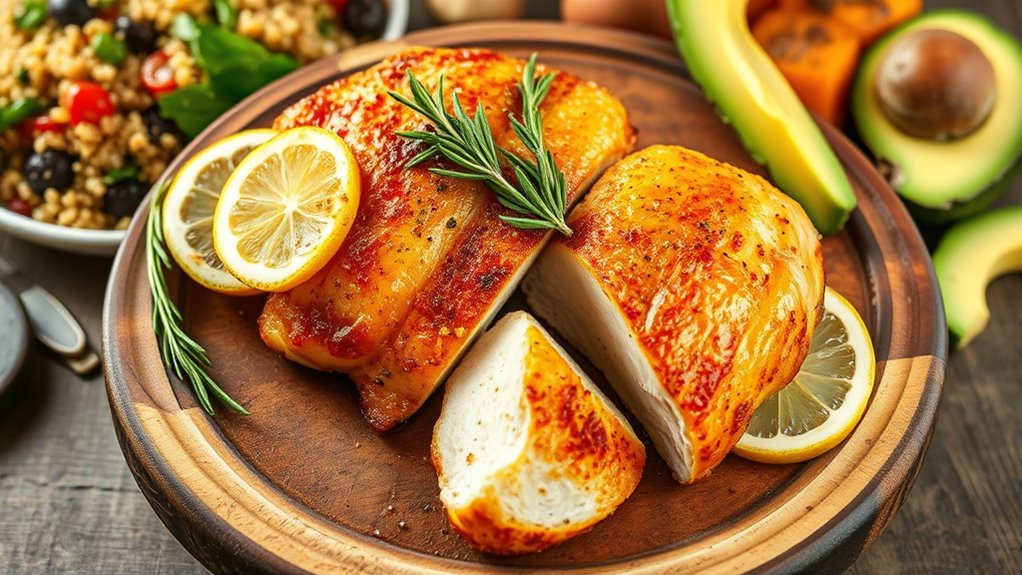
Creative serving ideas can elevate your air fryer chicken breast from a simple meal to a flavorful centerpiece. You can slice it thin and add it to vibrant salads with mixed greens, cherry tomatoes, and tangy vinaigrette. Or, serve it alongside roasted vegetables like asparagus, bell peppers, or sweet potatoes for a colorful plate. For a comforting twist, shred the chicken and make lettuce wraps with avocado, salsa, and a squeeze of lime. You might also top it with a drizzle of balsamic glaze or sprinkle fresh herbs like parsley or thyme for added aroma and flavor.
- Juicy slices on a bed of mixed greens with nuts and cheese
- Shredded chicken tacos with salsa and sour cream
- Chicken and veggie stir-fry over brown rice
- Crispy chicken strips with homemade dipping sauce
Frequently Asked Questions
How Does Marinating Affect the Chicken’s Moisture and Flavor?
Marinating your chicken helps lock in moisture, making it juicier after cooking. It also enhances flavor by infusing the meat with herbs, spices, or acidic ingredients like lemon or vinegar. You’ll notice a more tender, delicious result, especially when air frying, because the marinade prevents the chicken from drying out. Just make certain you marinate for enough time—at least 30 minutes—to maximize these benefits.
Can I Use Frozen Chicken Breast Instead of Fresh?
Think of frozen chicken breast like a locked treasure chest—you just need the right key. You can use frozen chicken, but you’ll need to adjust your cooking time by about 50%. Thaw it fully for even cooking and better flavor. If you’re in a hurry, cook it from frozen, but expect longer cooking and a slightly different texture. Always check that the internal temperature reaches 165°F for safety.
What Are the Best Herbs and Spices for Flavor Without Added Calories?
You can enhance flavor without adding calories by using herbs and spices like garlic powder, paprika, black pepper, onion powder, thyme, rosemary, and cumin. These seasonings boost taste and aroma without increasing calorie content. Simply sprinkle them generously over your chicken before cooking, or mix into marinades for extra flavor. They’re perfect for keeping your dish flavorful, healthy, and calorie-free while elevating your air fryer chicken breast.
How Can I Prevent Drying Out the Chicken During Cooking?
To prevent drying out your chicken, start by brining or marinating it to lock in moisture. Use a meat thermometer to cook until it reaches 165°F, avoiding overcooking. Let the chicken rest for a few minutes after cooking to redistribute juices. Additionally, cooking at the right temperature and flipping halfway helps maintain moisture and even browning, ensuring your chicken stays juicy and tender.
Is It Safe to Cook Chicken Breasts at Different Temperatures?
Yes, it’s safe to cook chicken breasts at different temperatures, but you must make certain it reaches an internal temperature of 165°F (74°C) for safety. Lower temperatures may take longer to cook thoroughly, increasing the risk of bacteria. Use a meat thermometer to check doneness, and avoid undercooking. Adjust your cooking time accordingly to maintain safety and ensure the chicken stays juicy and tender.
Conclusion
Now that you’ve mastered the art of air frying chicken breast, you’re all set to whip up a healthy, juicy meal anytime. With just a few simple steps—selecting the right breast, seasoning perfectly, and timing it right—you’ll impress even the most discerning diners. Think of this recipe as your trusty companion, like a modern-day knight’s armor, ready to serve up crispy, tender goodness in minutes. Happy cooking!