
If your KitchenAid Artisan Series 5 Quart Tilt Head Stand Mixer is making a grinding noise, it can disrupt your baking routine and signal a mechanical issue. Understanding common causes and how to address them can save you time and money. This guide provides clear, safe troubleshooting steps to restore your mixer’s quiet operation and ensure it continues to perform at its best.
Key Takeaways
| Identify the noise source | Grinding sounds often come from worn gears, debris, or motor issues. |
| Regular maintenance helps prevent problems | Cleaning and lubricating parts can extend your mixer’s lifespan. |
| Safety first | Always unplug before inspecting or repairing your mixer. |
| Step-by-step troubleshooting | Follow clear instructions to diagnose and fix common causes. |

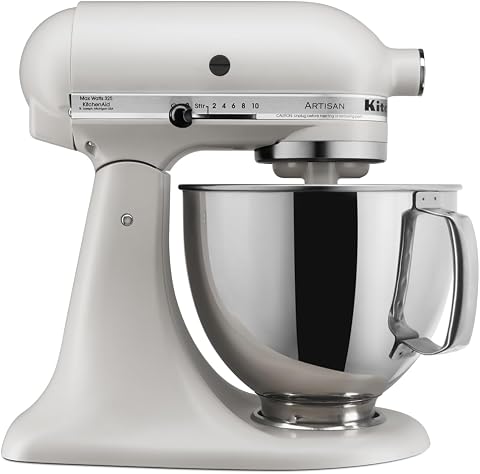
KitchenAid Artisan, 5-Qt Tilt Head Stand Mixer, KSM150PS, Milkshake
Built to take it all on with the durable and built-to-last metal construction, and 59 touchpoints around the...
As an affiliate, we earn on qualifying purchases.
Step 1: Unplug and Inspect the Mixer
- Ensure the mixer is unplugged from the power outlet to avoid electrical hazards.
- Remove the attachment and bowl from the mixer.
- Visually inspect the area around the gear housing and drive shaft for debris, stuck particles, or visible damage.
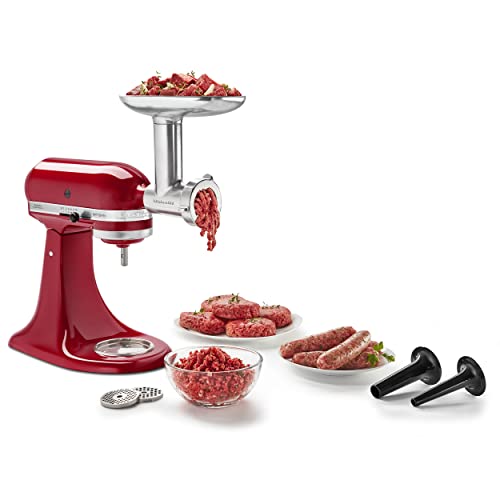
KitchenAid KSMMGA Food Grinder Attachment for All KitchenAid Stand Mixers
Connect to any household KitchenAid Stand Mixer power hub and use the power of the motor to run...
As an affiliate, we earn on qualifying purchases.
Step 2: Check for Obstructions and Debris
- Clean around the gear housing with a soft brush or cloth to remove dust, flour, or stuck ingredients.
- Ensure nothing is jammed in the attachment socket or drive mechanism.
Step 3: Examine the Gears and Drive Assembly
- Remove the mixer head if necessary, following the manufacturer’s instructions for your model.
- Inspect the plastic or metal gears for signs of wear, cracks, or missing teeth.
- If gears appear worn or damaged, replacement may be necessary.
Step 4: Lubricate Moving Parts
If your mixer model allows, lightly lubricate the gear assembly with food-grade lubricant. Do not over-lubricate or use inappropriate oils. Consult your user manual for guidance.
Step 5: Test the Mixer
- Reassemble the mixer, ensuring all parts are securely in place.
- Plug in the mixer and run it at low speed to check if the grinding noise persists.
The Products in This Guide
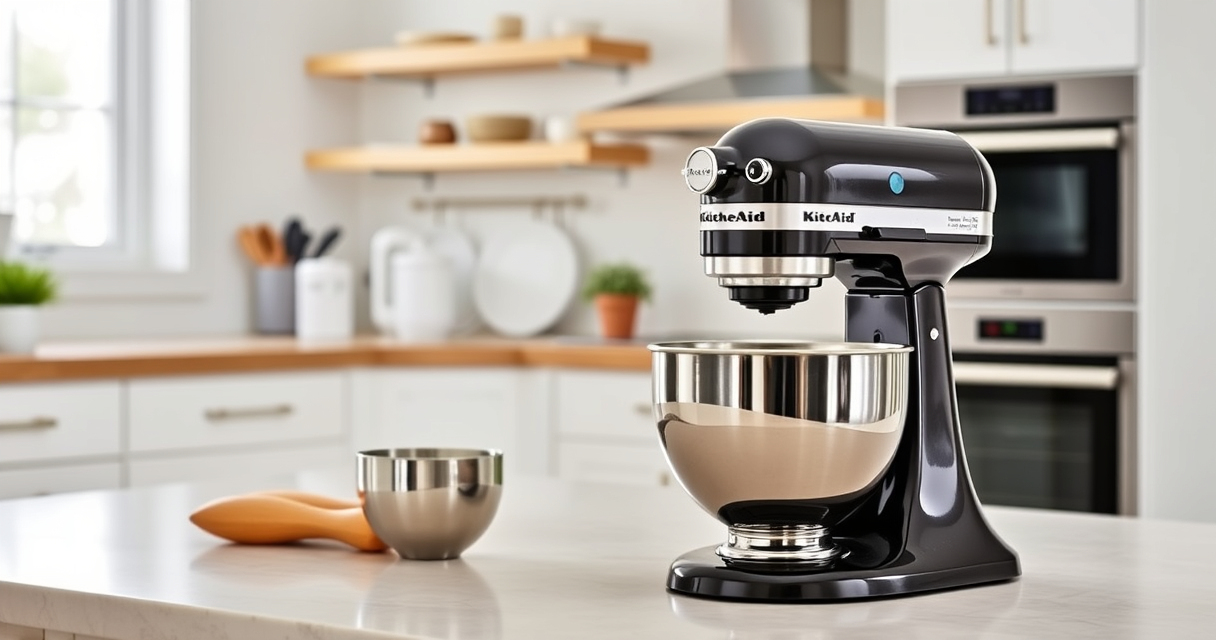
KitchenAid Artisan Series 5 Quart Tilt Head Stand Mixer
- ✔ Weight: 26 lbs
- ✔ Dimensions: 14 x 8 x 14 inches
- ✔ Warranty: 1 year

KitchenAid Stand Mixer Attachment
- ✔ Weight: 3.2 lbs
- ✔ Size: 8 x 7 x 4 inches
- ✔ Warranty: 1 year
KitchenAid Artisan Series 5 Quart Tilt Head Stand Mixer
The KitchenAid Artisan Series 5 Quart Tilt Head Stand Mixer is built with metal construction and 59 touchpoints for thorough mixing. Its tilt-head design makes adding ingredients easy, and 10 speeds handle various recipes. Regular maintenance can keep it running smoothly and quietly.
Pros:
- Durable metal construction
- Easy tilt-head access
- Multiple speed settings
- Large 5-quart bowl
Cons:
- Can be heavy to lift
- Gears may wear over time
- Requires regular cleaning
Best for: Home bakers and serious cooking enthusiasts
Not ideal for: Heavy-duty industrial use or commercial kitchens
Bottom line: A versatile, durable mixer ideal for most home baking needs.
KitchenAid Stand Mixer Attachment
The KitchenAid Metal Food Grinder attachment turns your mixer into a powerful food processor, perfect for grinding meats, vegetables, and more. Its sturdy metal construction and multiple grinding plates make it a versatile addition to your kitchen arsenal.
Pros:
- Strong metal build
- Multiple grinding plates
- Easy to connect and operate
- Pre-chill for best results
Cons:
- Requires separate purchase
- Cleaning can be time-consuming
- Need to pre-chill for optimal grinding
Best for: Homemade sausages, ground meat, and vegetable grinding
Not ideal for: For very large quantities or commercial use
Bottom line: A durable, high-quality attachment that expands your mixer’s capabilities.
Frequently Asked Questions
Why is my KitchenAid mixer making grinding noises?
Grinding noises can indicate worn gears, debris caught in the mechanism, or lack of lubrication. Inspect and clean your mixer regularly to prevent issues.
Can I fix the grinding noise myself?
Yes, with proper inspection, cleaning, and lubrication, many issues can be resolved at home. However, if gears are damaged, professional replacement may be needed.
How often should I maintain my KitchenAid mixer?
Regularly inspect and clean your mixer after each use. Lubricate moving parts annually or as recommended in the user manual.
Is it safe to open the mixer myself?
Only attempt to open and inspect your mixer if you’re comfortable with mechanical repairs and unplugged. If unsure, consult a professional technician.
Keeping Your KitchenAid Mixer Running Smoothly
Regular maintenance and attentive inspection are key to preventing grinding noises and ensuring your KitchenAid stand mixer operates quietly and efficiently. Follow these troubleshooting steps safely, and consider professional repair if internal parts need replacement. A well-maintained mixer will serve you reliably for years to come.
Affiliate disclosure: As an Amazon Associate we earn from qualifying purchases. Prices and availability are accurate as of the time of publishing.