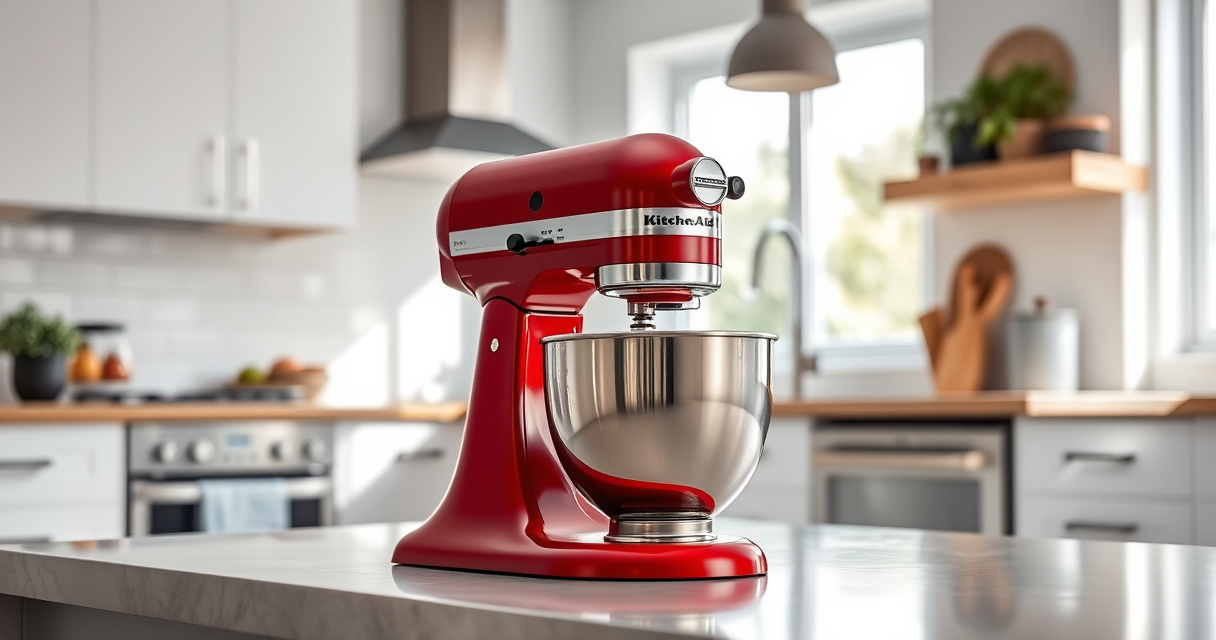

If your KitchenAid Artisan Series 5 Quart Tilt Head Stand Mixer is making a grinding noise, it can indicate a mechanical issue that needs attention. A noisy mixer can disrupt your baking sessions and may cause further damage if not addressed promptly. Fortunately, many common problems are straightforward to fix with basic troubleshooting and safety precautions.
In this guide, you’ll learn how to diagnose the cause of the grinding sound, perform simple repairs, and maintain your mixer for smooth operation. Always remember to unplug your mixer before attempting any repairs to ensure safety.
Key Takeaways
| Identify the cause | Grinding noise often indicates a worn gear or obstruction. |
| Safety first | Always disconnect power before working on your mixer. |
| Inspect and clean | Regular cleaning can prevent buildup that causes noise. |
| Replace worn parts | Gear or drive components may need replacement. |
| Seek professional help if needed | If unsure, consult a service technician. |

KitchenAid Artisan Series 5 Quart Tilt Head Stand Mixer with Pouring Shield KSM150PS, Milkshake
Built to take it all on with the durable and built-to-last metal construction, and 59 touchpoints around the...
As an affiliate, we earn on qualifying purchases.
Step 1: Unplug and Prepare Your Mixer
- Ensure your KitchenAid Artisan stand mixer is unplugged from the power source to prevent accidental activation.
- Remove the attachment and the mixing bowl for easier access to internal parts.
- Place the mixer on a stable, flat surface and gather necessary tools such as screwdrivers and a soft cloth.

KitchenAid Stand Mixer Attachment, Food Grinder KSMMGA, Metal Food Grinder
Connect to any household KitchenAid Stand Mixer power hub and use the power of the motor to run...
As an affiliate, we earn on qualifying purchases.
Step 2: Inspect the Drive Assembly and Gears
Open the mixer’s casing by removing the screws on the bottom or side panels, following your model’s specific instructions. Carefully examine the gear drive, gear case, and drive shaft for signs of wear, damage, or debris.
Look for chipped, cracked, or worn gears, which are common causes of grinding noises. Clear any dust or debris with a soft brush or cloth.
Step 3: Lubricate Moving Parts
If the gears appear intact but are stiff, apply a small amount of food-grade lubricant designed for small appliances to the gear teeth and drive shaft. Avoid over-lubricating, as excess can attract dirt and cause further issues.
Reassemble the casing carefully, ensuring all screws are tightened securely.
Step 4: Test the Mixer
- Plug in your mixer and run it on a low speed (such as Speed 2 or 3) to check if the grinding noise persists.
- Observe the operation closely for any unusual sounds or vibrations.
- If the noise continues or worsens, proceed to replace worn parts or seek professional repair.
Step 5: Replace Worn or Damaged Parts
If inspection reveals damaged gears or drive components, order replacement parts from KitchenAid or authorized dealers. Follow the manufacturer’s instructions for removing and installing new parts.
Consider replacing the entire gear case if multiple components are worn out for a more reliable fix.
The Products in This Guide

KitchenAid Artisan Series 5 Quart Tilt Head Stand Mixer
- ✔ Weight: 26 lbs
- ✔ Warranty: 1 Year Limited
- ✔ Model: KSM150PS

KitchenAid Stand Mixer Attachment
- ✔ Size: Standard
- ✔ Weight: 3 lbs
- ✔ Warranty: 1 Year
KitchenAid Artisan Series 5 Quart Tilt Head Stand Mixer
The KitchenAid Artisan Series 5 Quart Tilt Head Stand Mixer is built to last with durable metal construction. Its tilt-head design provides easy access to the bowl, making maintenance straightforward. With 10 speeds and 59 touchpoints around the bowl, it offers thorough mixing for a variety of recipes.
Pros:
- Sturdy metal build
- Easy to access tilt-head design
- Multiple speed options
- Large 5-quart bowl
Cons:
- Can be heavy to move
- May be noisy at high speeds
- Requires regular cleaning
Best for: Baking enthusiasts and home cooks needing reliable performance
Not ideal for: Small kitchens with limited space or users seeking lightweight models
Bottom line: A durable, versatile mixer suitable for all baking needs.
KitchenAid Stand Mixer Attachment
Enhance your KitchenAid mixer with the Metal Food Grinder attachment, perfect for grinding meats, vegetables, and nuts. It connects easily to the power hub and includes multiple grinding plates for varied textures.
Pros:
- Versatile grinding options
- Easy to attach and clean
- Large food tray
- Sturdy metal construction
Cons:
- Additional cost
- Requires separate purchase
- Bulkier for storage
Best for: Making fresh ground meat, salsas, and specialty foods
Not ideal for: For users who do not process large quantities regularly
Bottom line: A durable attachment that expands your mixer’s capabilities.
Frequently Asked Questions
What causes a grinding noise in a KitchenAid mixer?
The grinding noise can be caused by worn or damaged gears, debris caught in the drive assembly, or lack of lubrication in the gear system.
Can I fix the grinding noise myself?
Yes, many issues can be addressed with basic troubleshooting, such as inspecting and cleaning gears, lubricating moving parts, or replacing worn components. Always unplug the mixer before working on it.
When should I replace gear parts?
Replace gear parts if you notice chipped, cracked, or excessively worn gears during inspection. Continuing to use a damaged gear can worsen the problem.
Is it safe to open my KitchenAid mixer?
Only open your mixer if you are comfortable with small appliance repairs and have unplugged it. If unsure, consult a professional technician to avoid injury or further damage.
How often should I clean my mixer to prevent issues?
Regular cleaning of the exterior and accessible internal parts can prevent buildup of dust and debris that may cause noise or operational problems.
Keep Your KitchenAid Mixer Running Smoothly
Regular maintenance and prompt troubleshooting can extend the life of your KitchenAid Artisan stand mixer. By inspecting internal components, lubricating moving parts, and replacing worn gears when necessary, you can eliminate grinding noises and enjoy quiet, efficient mixing for years to come. If problems persist, don’t hesitate to seek professional repair services to ensure safety and optimal performance.
Affiliate disclosure: As an Amazon Associate we earn from qualifying purchases. Prices and availability are accurate as of the time of publishing.