
If your smart oven isn’t heating properly, start by checking the power supply and circuit connections to guarantee safety features are activated. Inspect the heating element for cracks or damage and test it for continuity; replace if needed. Make sure the temperature sensor is functioning correctly and the control system is calibrated. Secure all wiring and verify safety features like door closing. Keep troubleshooting steps in mind as you explore how to fix your oven effectively.
Key Takeaways
- Verify the power supply, circuit connections, and safety features, ensuring the oven is properly grounded and the circuit breaker is not tripped.
- Inspect and test the heating element for damage or continuity; replace if it shows signs of failure.
- Check the oven’s temperature sensor for proper placement and function; replace if faulty or damaged.
- Calibrate the oven’s control system and confirm all settings are correct, adjusting the thermostat as needed.
- Examine control settings, ensure the oven door closes fully, and reset the device if necessary to restore proper heating.

316075104 316075103 Oven Bake Heating Element by Blutoget-Fit for Frigidaire Kenmore Oven Heating Element Replaces PS438018 316282600 316075100 AH2332301 AP2125026 FEF366ECD FEF366EMD FEF326FSEF
Upgraded 316075104 3160755103 oven bake element :316075104 Oven Range Stove Bake Element is at the bottom of the…
As an affiliate, we earn on qualifying purchases.
As an affiliate, we earn on qualifying purchases.
Verify Your Power Supply and Circuit Connections
Before troubleshooting your smart oven’s heating issues, it’s essential to verify that the power supply and circuit connections are in proper working order. First, check that the circuit breaker hasn’t tripped; if it has, turn it off for 30 seconds before flipping it back on. Ensure your oven is plugged into a grounded outlet with the correct voltage requirements. Keep in mind, the display might work even if the oven isn’t heating, so don’t rely solely on that. Inspect for blown fuses within the electrical system, as these can disrupt heating without affecting other functions. Finally, verify all terminal wires are correctly color-coded and securely fastened with tight hex nuts. Proper power supply and circuit connections are critical for your oven to heat correctly. Additionally, reviewing the electrical system can help identify underlying issues that might affect heating performance. It’s also helpful to consult the oven’s user manual for specific electrical specifications and troubleshooting tips. Ensuring your electrical connections are secure can prevent ongoing heating problems.

Digital Multimeter Voltmeter Battery Voltage Multi Tester Continuity Ohm Volt Amp DC AC Current Resistance Diodes 2000 Counts Electrical Test Meter with Leads Backlight LCD Display
Accurately Test Full Features: Accurately measures AC/DC voltage, DC current, resistance, continuity test, diode and batteries.
As an affiliate, we earn on qualifying purchases.
As an affiliate, we earn on qualifying purchases.
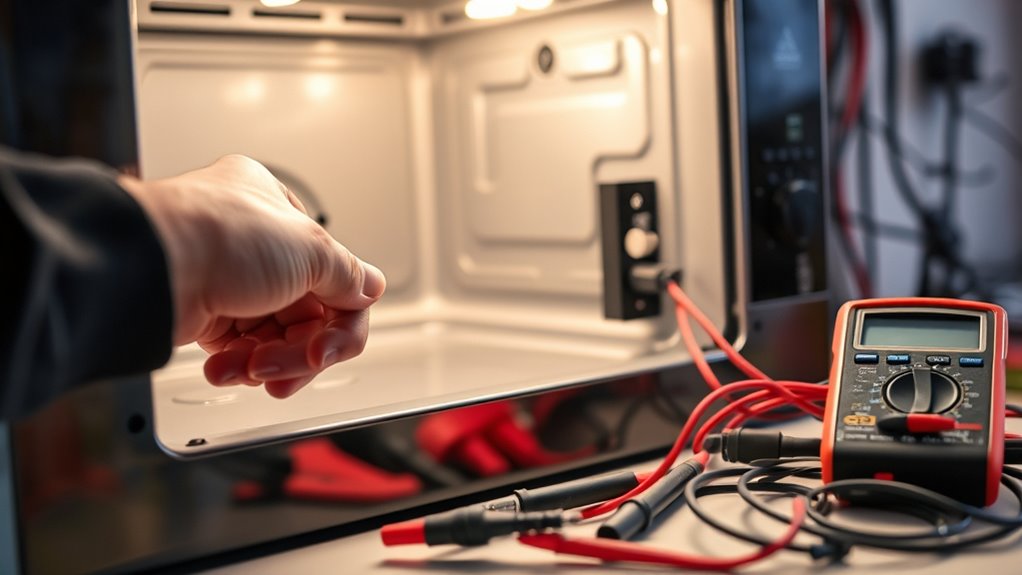
Inspect and Test the Heating Element
Start by visually inspecting the heating element for any obvious damage, such as cracks or burns. Next, test the element for continuity with a multimeter to guarantee it’s functioning properly; if it shows no continuity, it needs replacing. When replacing the element, make sure to follow proper guidelines to select a compatible part and handle it safely. Additionally, consult your oven’s safety and maintenance recommendations to ensure safe handling procedures. Ensuring the correct oil is used in your oven’s components can also contribute to optimal performance and longevity. Regularly cleaning and inspecting your oven’s interior can help prevent future issues and extend its lifespan, aligning with manufacturer instructions to achieve the best repair outcomes. Incorporating artistic expression into your routine can also promote a more mindful and attentive approach to maintenance, helping you notice small issues before they become major problems.
Visual Element Inspection
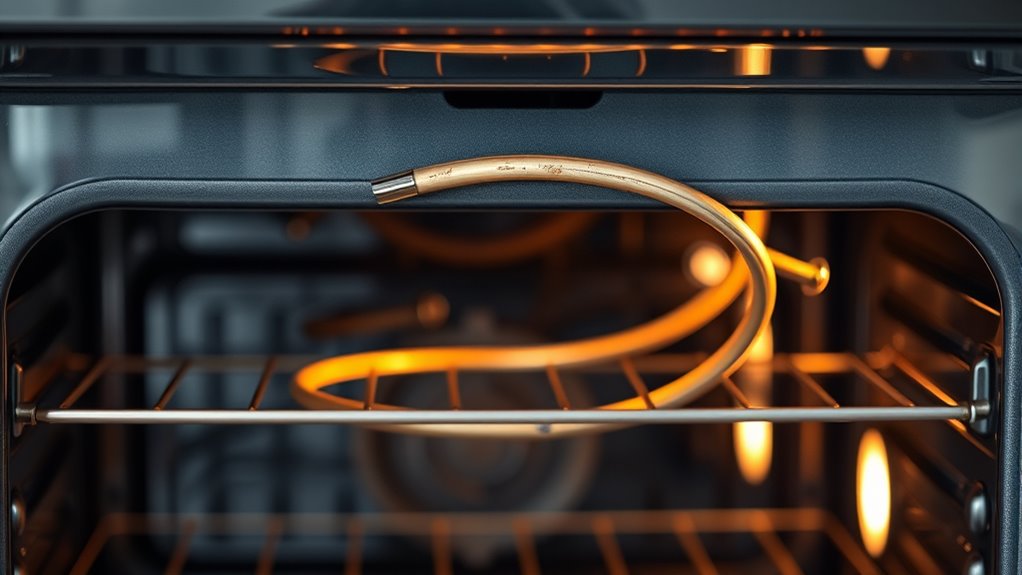
Inspecting the heating element visually is a crucial step in diagnosing heating issues with your oven. First, open the oven door and look at the heating element when the oven is preheated. You should see a bright orange or red glow if it’s working properly. Second, check for any visible damage, such as cracks, breaks, or warping along the element. Third, examine the connections at both ends of the element to ensure they are secure, free of corrosion, and properly attached. Look for any signs of discoloration or burn marks that could indicate overheating. If the element isn’t glowing or shows visible damage, it likely needs replacement. Always turn off the power before inspecting or handling the heating element for safety. Proper maintenance practices can help prevent future heating issues and extend the lifespan of your oven components, including regularly cleaning and inspecting electrical connections. Additionally, electric oven safety protocols should be followed during inspections to prevent electrical hazards. Conducting a thermal behavior check can also help identify underlying issues affecting heating performance. Regularly monitoring the oven’s temperature consistency can assist in detecting early signs of malfunction before complete failure occurs.
Continuity Testing Procedure
To determine if your heating element is functioning properly, performing a continuity test is essential. First, unplug the oven for safety. Remove the heating element and set your multimeter to the ohms setting. Touch the probes to each terminal on the element. If the multimeter shows a reading, the element has continuity; if not, it’s likely faulty. Use the table below to interpret your results:
| Multimeter Reading | Meaning |
|---|---|
| Shows a value | Element is continuous and likely OK |
| Reads zero or infinite | Element is broken or damaged |
| No change | No continuity, replace the element |
| Consistent reading | Element is functioning properly |
| No reading or erratic | Element needs replacing |
Always verify the element’s compatibility with your oven model before reinstalling. Additionally, ensure you properly handle electrical components to prevent any damage or safety hazards. When testing, also consider the overall electrical system of your oven to ensure safety and proper functioning. Confirm that the power supply is stable and that circuits are correctly grounded before proceeding with repairs. It’s also advisable to consult your oven’s user manual for specific troubleshooting guidelines.
Proper Replacement Guidelines
Before installing a new heating element, it is crucial to verify its compatibility with your specific oven model. This ensures proper fit and safe operation. To properly inspect and test the element, follow these steps:
- Remove the heating element from the oven, ensuring power is off at the breaker.
- Visually check for visible damage like cracks, warping, or burn marks.
- Test continuity using a multimeter: place probes on each terminal, and a reading close to zero indicates the element is functional. If the multimeter shows no continuity or the element doesn’t glow red when powered, it needs replacement.
- Remember that herbal teas can be soothing, but they do not impact the electrical components of your oven.
- Confirm that the electrical connections are secure and free of corrosion to prevent future issues. Additionally, inspecting the heating element for proper installation can help avoid contact issues that impair performance. Performing a visual inspection can also identify potential issues before reinstalling. Ensuring the temperature sensors are functioning correctly can also help maintain consistent heating performance.
Always handle the element with care and confirm compatibility before installation. Proper testing prevents future issues and ensures your oven heats efficiently and safely.

【Upgraded】 BlueStars WPW10181986 W10181986 W10131826 Range Oven Sensor Probe Part – Compatible with Whirlpool Maytag Kenmore Ranges – Replaces WPW10181986 8273902 W10131826 PS11749737 AP6016450
IMPORTANT NOTE: Please check the model number carefully before ordering. You can send us your range/oven model number,…
As an affiliate, we earn on qualifying purchases.
As an affiliate, we earn on qualifying purchases.
Assess the Temperature Sensor Functionality

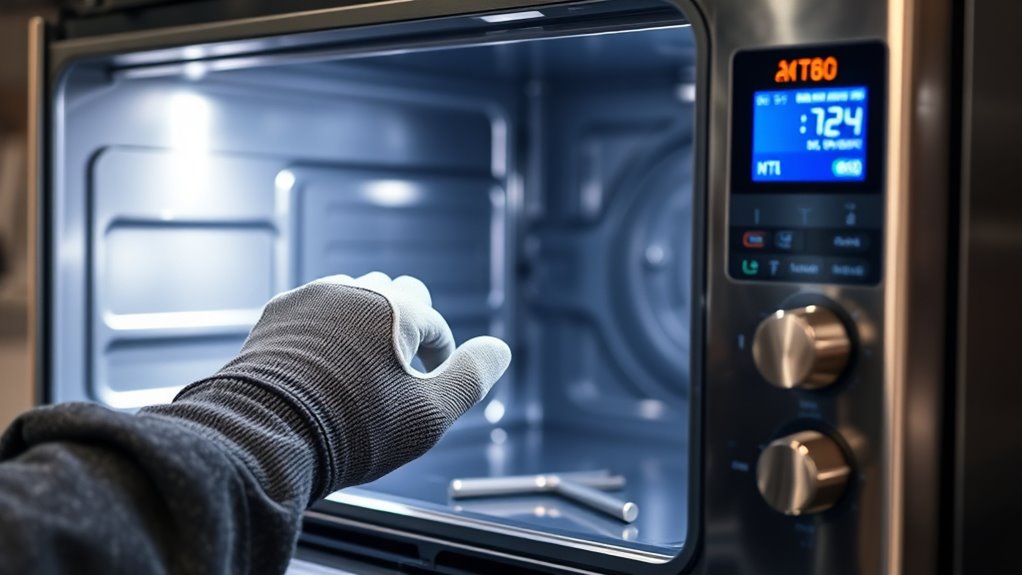
When your smart oven isn’t heating properly, testing the temperature sensor is an essential step. Start by locating the sensor, usually in the top right corner inside the oven, and verify it’s positioned at a 90-degree angle. Make sure the oven is completely cooled before adjusting or inspecting it. Check the digital display for error codes that indicate sensor issues. If your oven has a diagnostic mode, follow the manual to test the sensor’s functionality. If the sensor appears damaged or the test indicates it’s faulty, replace it with a manufacturer-approved part. Remember, a faulty temperature sensor can cause inaccurate temperature readings, preventing your oven from heating correctly. Proper testing and replacement can restore accurate temperature regulation. Additionally, consulting the oven’s security zone info can provide insights into common faults and recommended maintenance steps. Ensuring your oven’s sensor calibration is accurate can also help prevent future heating problems. Regularly inspecting the temperature sensor can help catch issues early and maintain optimal oven performance.

mxuteuk 2Pcs 30Amp Circuit Breakers Push Button Manual Reset 125/250V AC 50V DC, L1 Series Overload Protector Switch Thermal Circuit Breakers with Waterproof Button Caps L1-ls-30A
Product Name: Manual Reset 125-250V AC 50V DC Push Button Switch Thermal Circuit Breaker
As an affiliate, we earn on qualifying purchases.
As an affiliate, we earn on qualifying purchases.
Calibrate the Oven’s Control System
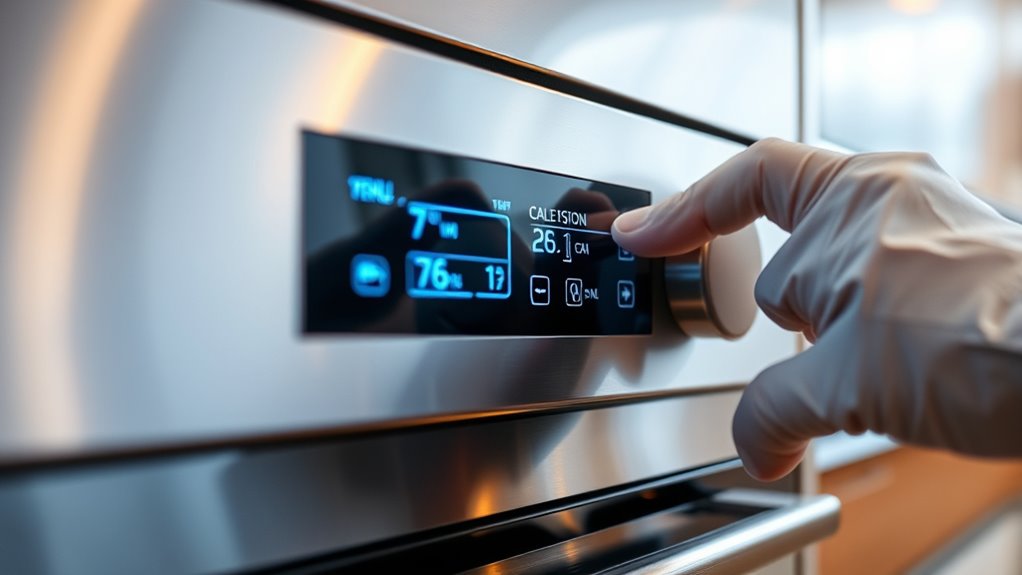
Calibrating your oven’s control system guarantees it heats accurately and maintains consistent temperatures. To do this, follow these steps:
- Access the calibration settings on your control panel, usually by pressing the “Settings” button repeatedly.
- Adjust the oven thermostat in 5-degree increments, either up or down, depending on the discrepancy.
- Use an external oven thermometer to verify if the actual temperature matches the display during operation.
Perform several calibration tests, adjusting clockwise and counterclockwise, to confirm accuracy. If the temperature readings consistently differ from your set values, recalibrate until they align. This process ensures your oven heats precisely, helping you achieve better-cooked meals and consistent results every time.
Confirm Proper Installation and Safety Features
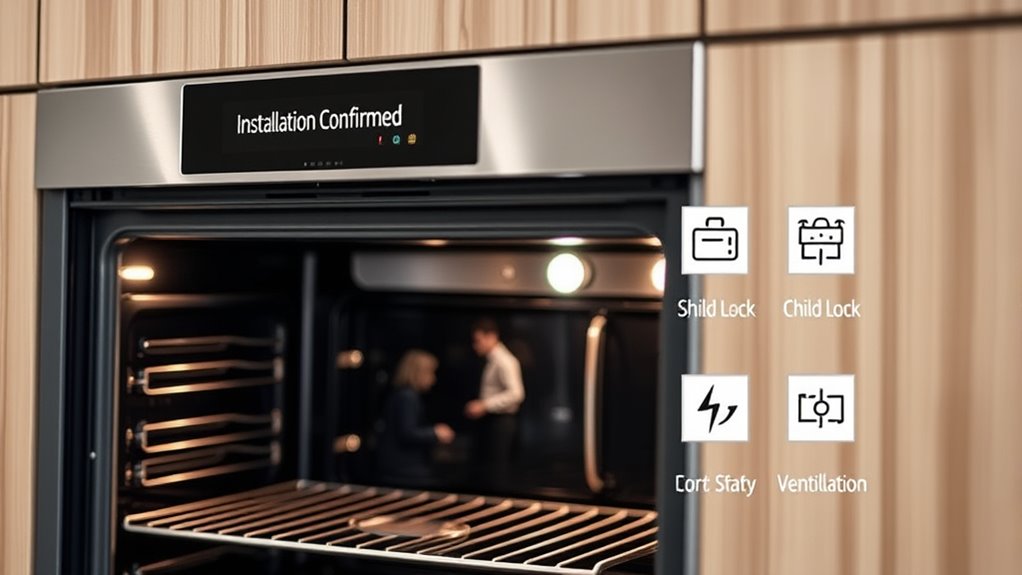
Ensuring your smart oven is properly installed and its safety features are functioning correctly is essential for safe and efficient operation. First, confirm the oven door closes fully, as safety mechanisms prevent heating if it’s open. Check that all terminal wires are securely connected and match the color coding, ensuring proper electrical flow. Verify the circuit breaker hasn’t tripped; reset it if needed by turning it off for 30 seconds before restoring power. Make sure the oven is plugged into a grounded outlet with the correct voltage. For gas models, confirm the gas valve is fully open. Finally, guarantee adequate ventilation around the oven to prevent overheating and allow proper cooling. Proper installation and safety check-ups help prevent malfunctions and promote safe use.
Troubleshoot Common Operational Issues
Start by checking your power connections to make certain the oven is properly plugged in and the circuit breaker hasn’t tripped. Next, inspect the heating elements for any visible damage or signs of failure, and verify that control settings are correctly adjusted. If everything seems in order but the oven still isn’t heating, review these points to identify the issue.
Check Power Connections
If your smart oven isn’t heating properly, the first step is to check all power connections to make sure it’s getting the right voltage and is properly grounded. Start by inspecting the power cord and plug for damage, ensuring they’re securely connected. Then, verify the outlet is functioning correctly:
- Confirm the circuit breaker hasn’t tripped; reset it by turning it off for 30 seconds, then back on.
- Make sure the oven is plugged into an outlet with the correct voltage, typically 120V or 240V depending on your model.
- Check that the outlet is grounded properly using a voltage tester or multimeter.
Ensuring these connections are solid helps eliminate basic electrical issues that could prevent your oven from heating.
Inspect Heating Elements
To determine if the heating element is functioning properly, observe whether it glows bright orange or red when the oven is set to 350°F during preheat mode. If it doesn’t glow or shows only a faint glow, the element may be faulty. Turn off the power before inspecting the element; carefully remove it from the oven. Use a multimeter to check for continuity—if there’s no continuity, the element is broken and needs replacing. Visually inspect for any visible damage, such as cracks or breaks. When installing a new element, ensure it’s compatible with your oven model. Always turn off power at the circuit breaker before handling the heating element to avoid electrical shock. Proper inspection and replacement can restore your oven’s heating performance.
Verify Control Settings
Incorrect control settings are a common reason your oven isn’t heating properly, so it’s important to verify that all settings are correctly configured. First, check that the oven is set to the correct cooking mode, such as bake or broil. Second, ensure the temperature dial matches your intended cooking temperature; sometimes it’s accidentally turned down. Third, confirm any timers or delay start options are disabled or set properly, as these can prevent heating until they expire. If your oven has a digital display, verify the displayed temperature matches your selected setting. Adjust any controls as needed, and then give the oven a test run. Properly configured controls are essential for consistent heat and successful cooking results.
Frequently Asked Questions
Can Software Updates Fix Heating Problems in My Smart Oven?
Software updates can sometimes fix heating problems in your smart oven by improving the control system’s performance and fixing bugs. You should check the manufacturer’s app or website for the latest updates and follow their instructions to install them. Keep in mind, if the hardware components like the heating element or sensors are faulty, software updates alone won’t resolve the issue. Always troubleshoot hardware issues if updates don’t help.
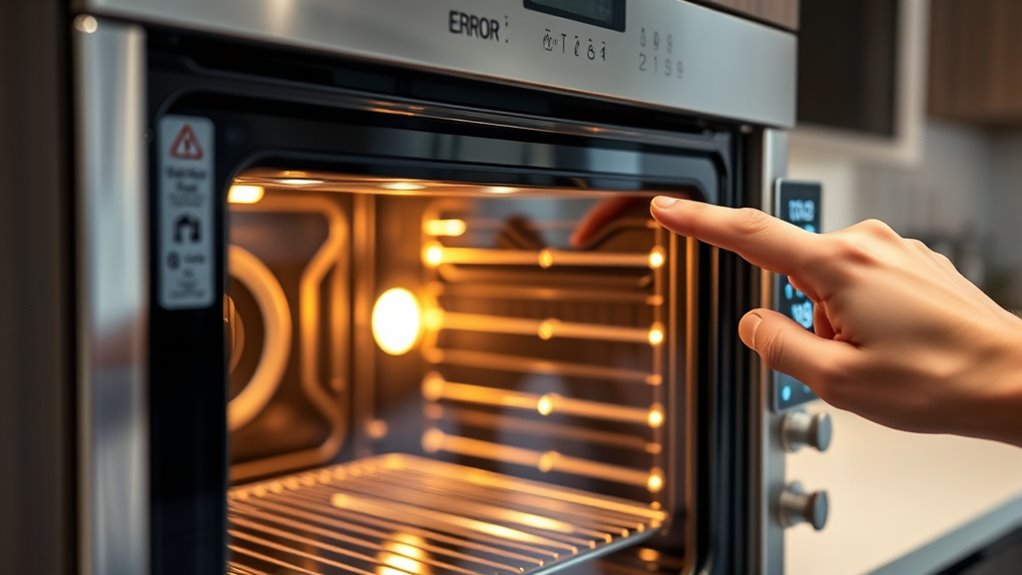
How Do I Interpret Error Codes Related to Heating Issues?
Error codes in your smart oven are like secret messages from a tech-savvy friend trying to tell you what’s wrong. When you see one, check the user manual or manufacturer’s website for specific meanings. Usually, these codes point to issues with the heating element, temperature sensor, or control system. Reset your oven if possible, and replace or repair parts as indicated to get your oven heating like new again.
Is There a Way to Reset My Oven’s Internal Control System?
Yes, you can reset your oven’s internal control system. First, unplug the oven from the power outlet or turn off the circuit breaker. Wait for about 30 seconds to allow the control board to reset. Then, plug it back in or turn the circuit breaker on. Power it up, and see if the issue is resolved. This simple reset often clears minor glitches causing heating problems.
What Are Signs of a Faulty Oven Temperature Sensor?
When your oven’s temperature sensor is faulty, you might notice uneven cooking or your oven displaying incorrect temperatures. Sometimes, the digital display shows error codes, or the oven won’t heat at all despite being turned on. You may also observe the sensor probe in the interior is misplaced or damaged. These signs signal that your temperature sensor needs inspection, testing, or replacement to restore accurate heat regulation.
How Does Ventilation Affect My Oven’s Heating Performance?
Ventilation plays a vital role in your oven’s heating performance. Proper airflow helps cool internal components and prevents overheating, guaranteeing consistent heat distribution. If ventilation is blocked or inadequate, your oven may struggle to reach or maintain the desired temperature. Keep vents clear of obstructions and ensure there’s good airflow around the oven. Proper ventilation not only enhances heating efficiency but also extends the lifespan of your appliance.
Conclusion
Remember, a problem shared is a problem halved. If your smart oven isn’t heating properly, start with these troubleshooting steps to identify the issue. Sometimes, a simple check or reset can do the trick. If all else fails, don’t hesitate to call in a professional. Taking action now can save you time and money later—after all, prevention is better than cure. Keep calm and oven on!