
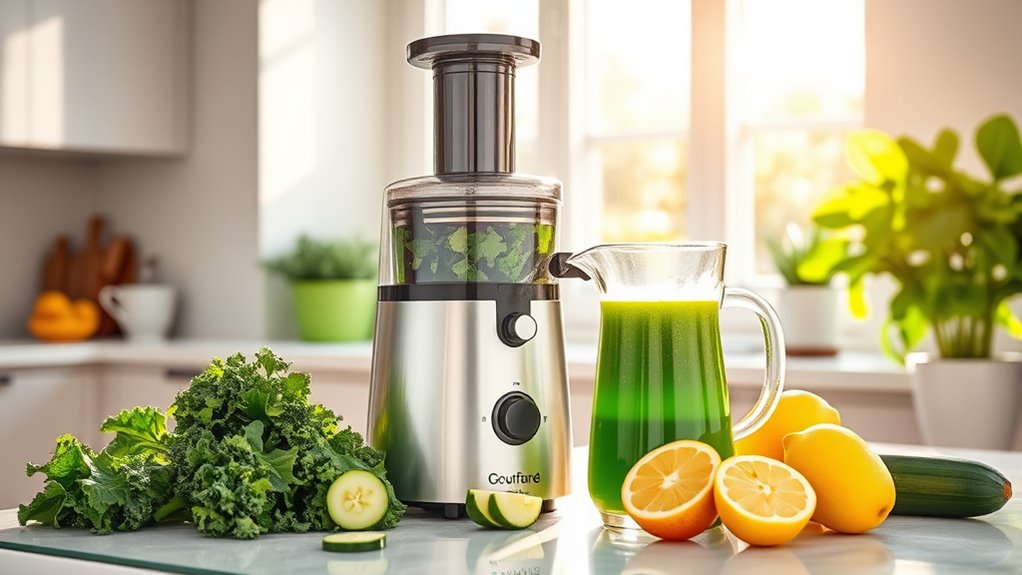
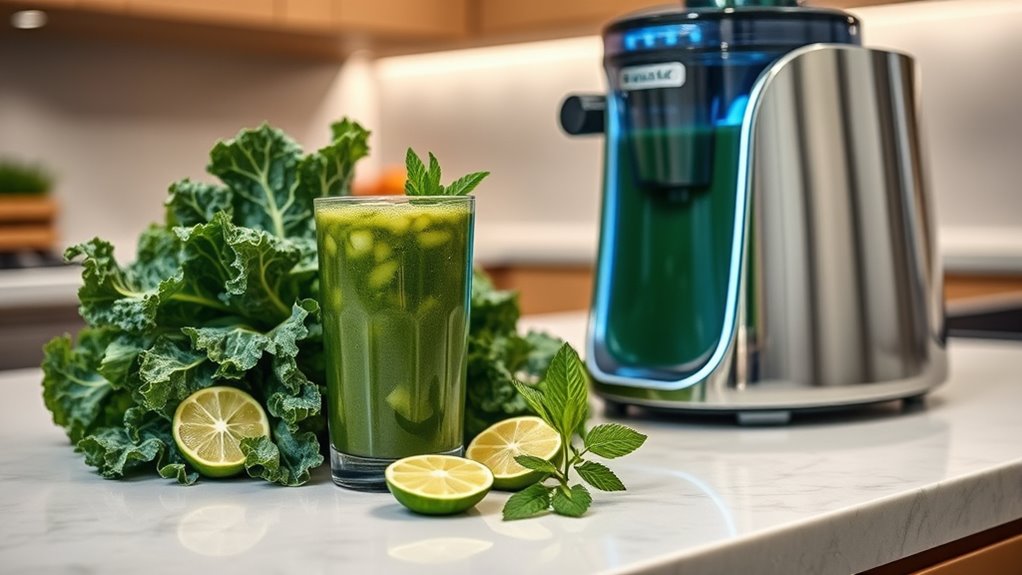
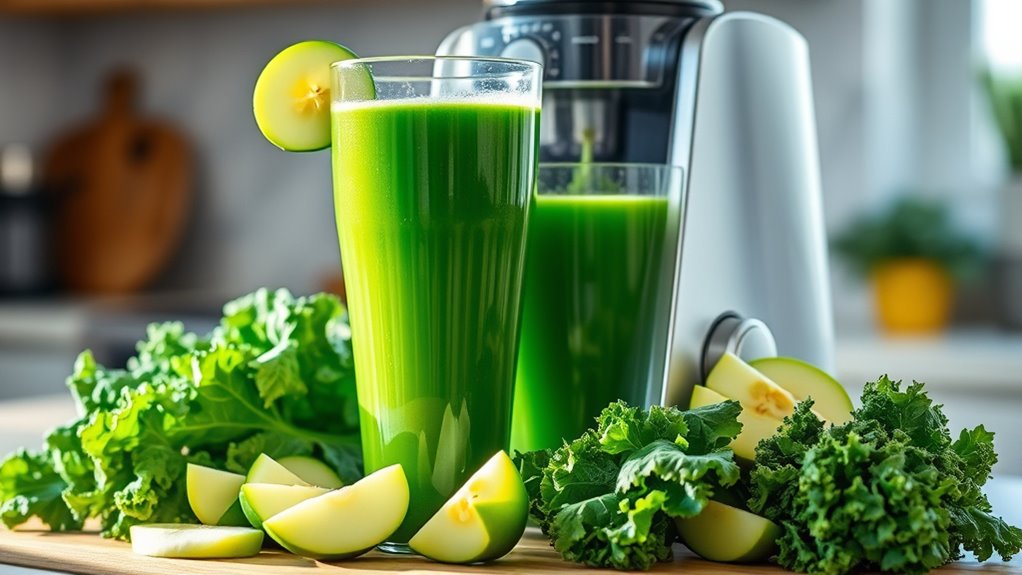
To make a green detox juice with your self-cleaning smart juicer, start by selecting fresh, organic produce like spinach, kale, cucumber, celery, lemon, and green apple. Rinse and prepare your ingredients, then load them into the juicer in the right sequence—greens first, followed by firmer vegetables and fruits. Use gentle settings for maximum nutrients and run the self-cleaning cycle afterward. For step-by-step tips and flavor enhancements, keep exploring to perfect your green juice!
Key Takeaways
- Select fresh, organic greens like spinach and kale, along with cucumber, celery, and citrus for optimal nutrient extraction.
- Thoroughly rinse produce, trim stems, peel if necessary, and chop into manageable pieces before juicing.
- Load ingredients sequentially—delicate greens first, firmer vegetables next, citrus and soft fruits last—for maximum yield.
- Use the self-cleaning cycle immediately after juicing, empty containers regularly, and perform weekly deep cleans for maintenance.
- Enhance juice flavor with herbs, a splash of vinegar, or natural sweeteners; store in airtight containers in the fridge for up to 48 hours.

Portable blender,USB-C rechargeable,Personal compact travel juicer cup15OZ for Shakes, Smoothies,Fresh juice,Self-cleaning,Leakproof lid, Smart time display,12 blades,with strong blending Purple
Portable blender and travel blender safety &BPA free: Enjoy health anytime, anywhere, personal design with 450ml of bottle…
As an affiliate, we earn on qualifying purchases.
As an affiliate, we earn on qualifying purchases.
Selecting the Right Ingredients for Your Green Detox
Choosing the right ingredients is essential to creating an effective green detox juice. Start with leafy greens like spinach and kale, which supply chlorophyll and vitamin K, supporting detoxification and blood health. Add high-water-content produce such as cucumber and celery, boosting hydration and aiding natural cleansing. Incorporate roots like ginger and turmeric for their anti-inflammatory and antioxidant benefits, enhancing your body’s ability to fight toxins. Fresh citrus elements, especially lemon juice, provide vitamin C and antioxidant properties that reinforce immune support. For a touch of natural sweetness without spiking blood sugar, include green apples or pears—these also add fiber and flavor. Selecting fresh, organic produce ensures maximum nutrient retention, so choose seasonal options whenever possible to optimize your detox experience. Additionally, understanding the importance of ketosis can help you tailor your juice ingredients to support metabolic health and detoxification processes. Incorporating whole foods into your diet can further amplify the benefits of your detox routine. Including a variety of nutrient-dense ingredients can maximize the cleansing effects of your juice. Incorporating antioxidant-rich foods can further enhance your body’s ability to neutralize free radicals and support detoxification. Also, incorporating sound healing science principles, such as maintaining a calm environment, can promote overall wellness during your detox journey.
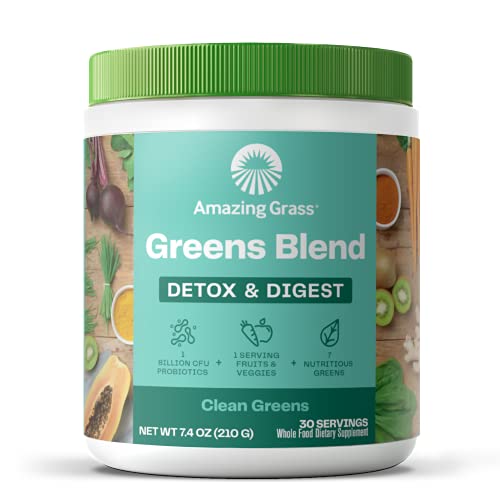
Amazing Grass Greens Blend Detox & Digest: Cleanse with Super Greens Powder, Beet Root Powder, Digestive Enzymes, Prebiotics & Probiotics, Clean Green, 30 Servings (Packaging May Vary)
This thoughtfully crafted blend combines our alkalizing farm fresh greens with over 24 cleansing ingredients, 1 billion probiotics…
As an affiliate, we earn on qualifying purchases.
As an affiliate, we earn on qualifying purchases.
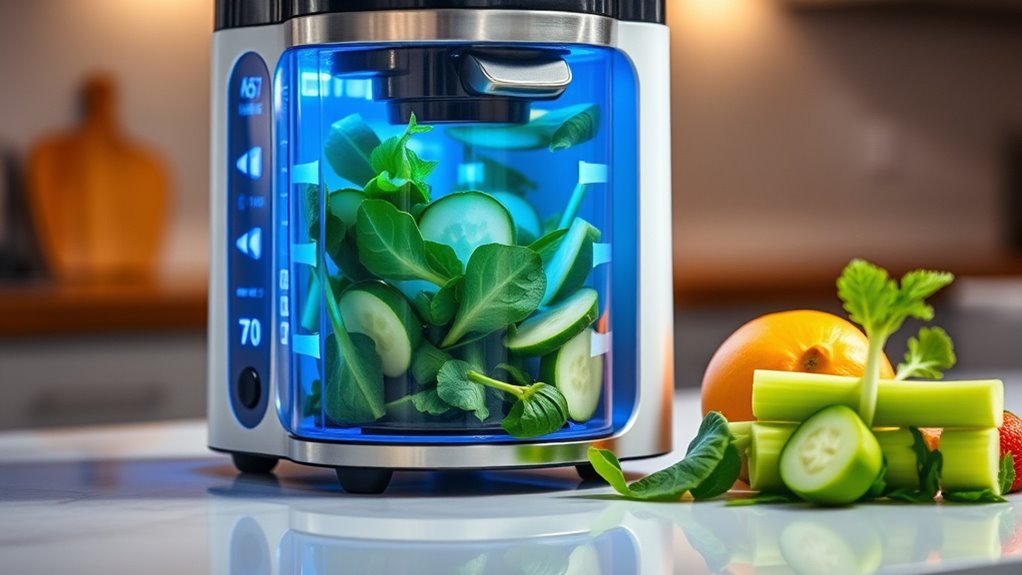
Preparing Your Produce for Juicing
Start by choosing fresh, organic vegetables to guarantee maximum nutrient content and flavor. Rinse everything thoroughly under cold water to remove dirt, pesticides, and bacteria. Then, prepare your produce by trimming stems, peeling if necessary, and chopping into manageable pieces for your juicer. Incorporating attention to detail during preparation ensures a cleaner process and a more refined juice. Paying close attention to proper cleaning techniques helps prevent contamination and preserves the quality of your produce. Additionally, understanding the color accuracy of your produce can help you select the most vibrant and nutritious ingredients for your juice. Recognizing the essential oil benefits can also enhance your understanding of how to keep your produce fresh and free from microbial contamination. Being mindful of produce freshness can further extend the shelf life and nutritional value of your ingredients.
Select Fresh, Organic Vegetables
Selecting fresh, organic vegetables is essential to maximize the nutrients and flavor in your green detox juice. Fresh produce guarantees you get the most vitamins, enzymes, and antioxidants. When choosing vegetables, look for vibrant colors, firm textures, and no blemishes. Organic options reduce pesticide residue and enhance flavor profiles. Prioritize leafy greens like spinach and kale, along with cucumber and celery for hydration. To help you select the best produce, consider this quick guide:
| Vegetable | Tip |
|---|---|
| Spinach/Kale | Bright, deep green leaves |
| Cucumber | Firm with no soft spots |
| Celery | Crisp stalks, no wilting |
| Ginger/Turmeric | Firm roots, fresh aroma |
Quality produce makes a noticeable difference in your juice’s taste and health benefits. Choosing produce with vivid coloration ensures optimal freshness and nutrient content. Additionally, selecting produce with minimal bruising helps maintain quality during storage. Incorporating proper storage techniques can further extend freshness and preserve nutrients for your juice. Maintaining freshness and nutrient retention is essential for the most healthful and flavorful juice. Furthermore, understanding innovative European cloud solutions can help you explore sustainable options for your health-focused lifestyle.
Properly Wash and Prepare
Before juicing, it’s important to thoroughly wash and prepare your produce to guarantee maximum freshness and safety. Rinse leafy greens like spinach and kale under cold running water, gently rubbing to remove dirt and pesticides. For cucumbers, celery, and other firm produce, scrub their surfaces with a vegetable brush to eliminate residues. Peel thick-skinned fruits like lemons and pears to reduce waxes and contaminants, or cut away damaged areas. Remove stems, seeds, and any wilted or spoiled parts. Dry everything with a clean towel or use a salad spinner to reduce moisture, which helps prevent spoilage. Properly prepared produce ensures you get the most nutrients and a clean-tasting juice, while minimizing the risk of contaminants affecting your health. Additionally, consider packing your produce carefully to prevent bruising during handling and storage. Using appropriate cleaning techniques can further help eliminate bacteria and residues, ensuring your juice is both safe and delicious. Incorporating proper sanitation practices can also help maintain your equipment and produce in optimal condition. Being mindful of handling and storage methods can preserve produce quality and extend freshness. Implementing AI-powered sanitation tools can optimize cleaning efficiency and safety in your juicing routine.
The Kombucha Shop Organic Kombucha Starter Kit – 1 Gallon Brewing Kit Includes All The Essentials Required for Brewing Kombucha At Home
MADE BY KOMBUCHA BREWERS FOR KOMBUCHA BREWERS: This kit has everything you need to start brewing your own…
As an affiliate, we earn on qualifying purchases.
As an affiliate, we earn on qualifying purchases.
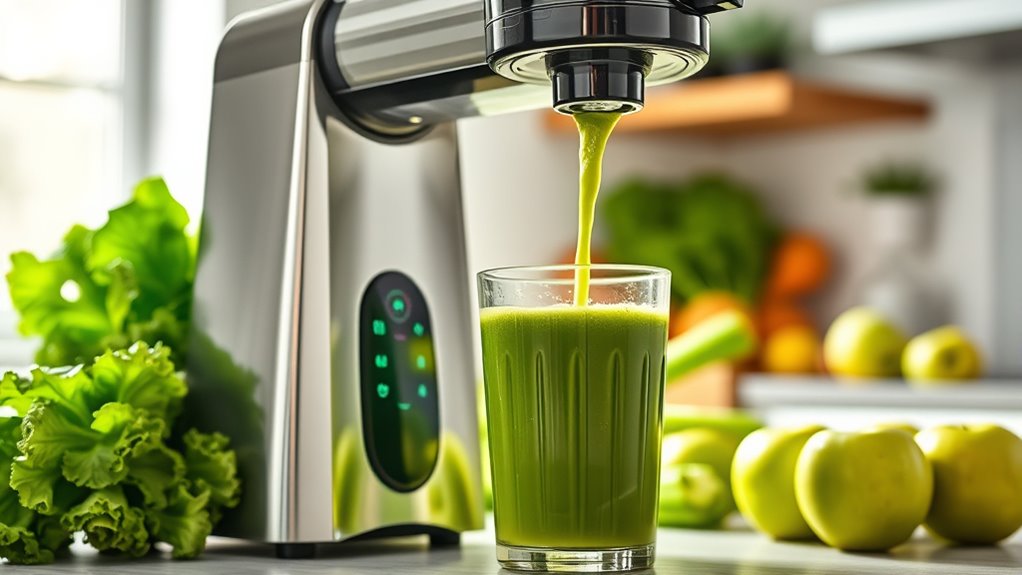
Sequencing Your Ingredients for Optimal Extraction
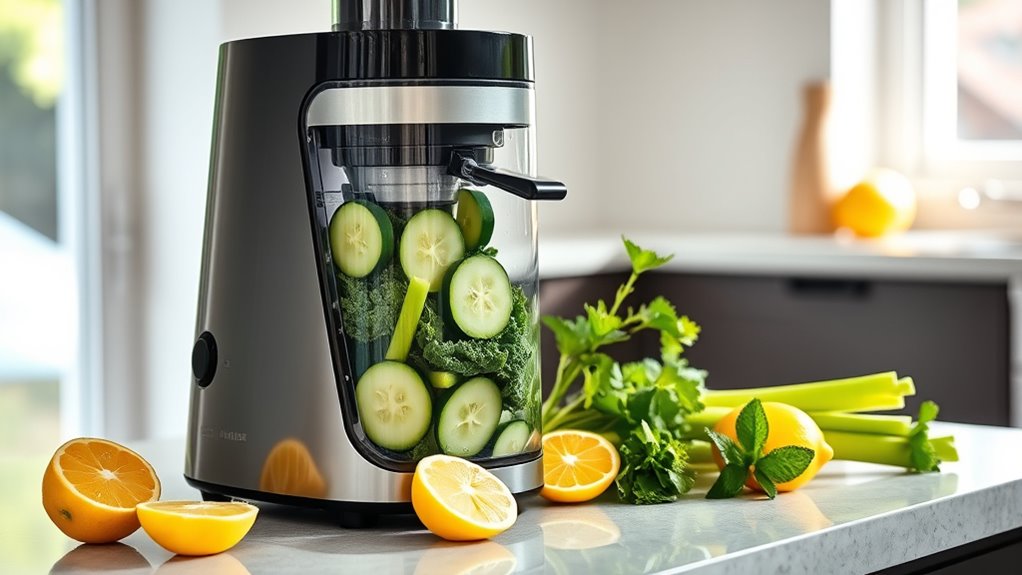
To maximize juice yield and nutrient extraction, you should process ingredients in a specific sequence that leverages their texture and fibrous properties. Start with leafy greens like spinach and kale, as their delicate structure allows the juicer to extract maximum chlorophyll and vitamin K. Next, add firmer produce such as cucumber and celery, which release more water and help push through fibrous greens. Incorporate ginger and turmeric after these to ensure their potent anti-inflammatory compounds are fully extracted without clogging. This technique also minimizes clogging and jamming of the juicer, ensuring a smoother operation throughout your process. Additionally, using self-cleaning features can significantly reduce cleanup time and maintain optimal performance. Incorporating proper ingredient preparation can further improve extraction efficiency and juice quality. Ensuring consistent ingredient sizing helps the juicer process everything evenly, reducing the risk of blockages. Finally, process citrus fruits or soft fruits like apples and pears, which are easier to juice last and help clear the system for a cleaner, more efficient extraction. This sequence guarantees ideal yield, nutrient preservation, and smooth operation. Additionally, sustainable practices in sourcing ingredients can enhance the health benefits and environmental impact of your juice.

Proctor Silex Electric Citrus Juicer Machine, Large 34 oz. Pitcher, Pressure Activated, 2 Reamers for Big and Small Fruit, Pulp Control, for Orange, Lemon, Grapefruit Juice, White & Green (66340)
MAKE FRESH, HEALTHY JUICE: Make fresh juice with oranges, lemons, limes, grapefruits and more. This versatile electric citrus…
As an affiliate, we earn on qualifying purchases.
As an affiliate, we earn on qualifying purchases.
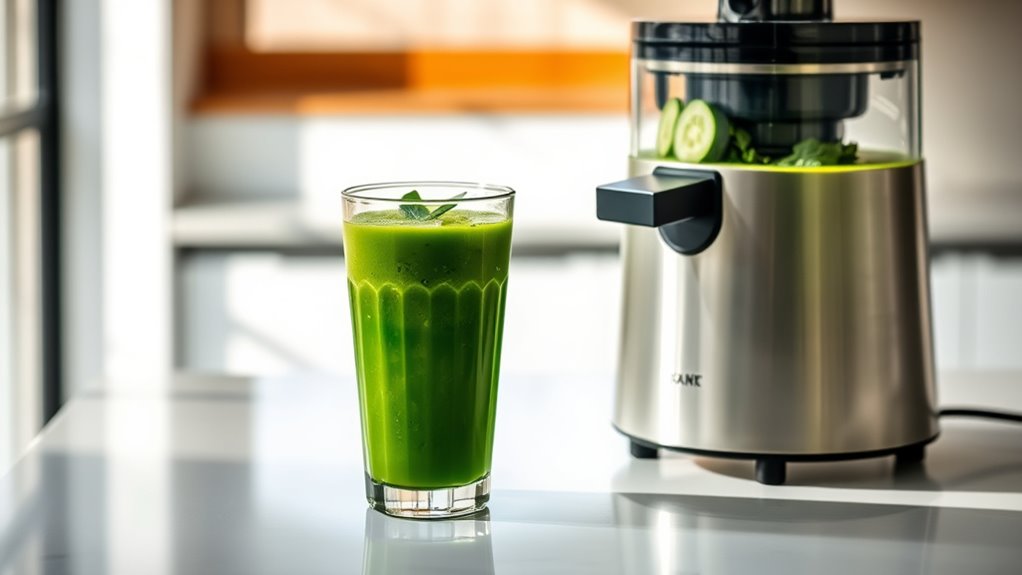
Using Your Self-Cleaning Smart Juicer Effectively
Maximizing the efficiency of your self-cleaning smart juicer starts with understanding its maintenance features. To keep it running smoothly, follow these steps:
- Run the self-cleaning cycle immediately after each use to prevent residue buildup.
- Regularly check and empty the juice container and pulp bin to avoid overflow and maintain ideal flow.
- Use the recommended cleaning agents—usually water and mild detergent—to prevent damage.
- Schedule deep cleaning sessions weekly, especially if juicing frequently, to remove stubborn deposits.
- Familiarize yourself with the navigation and mapping features of your juicer to ensure thorough cleaning and maintenance.
- Refer to your juicer’s maintenance guidelines to identify any specific care requirements and optimize its longevity.
Adjusting Settings for Maximum Nutrient Preservation
To preserve the maximum nutrients in your green detox juice, you should select the ideal program settings on your smart juicer. Pre-soaking produce like leafy greens can improve juice yield and nutrient extraction, especially for fibrous ingredients. Be sure to adjust the processing speed carefully to avoid damaging delicate vitamins and enzymes during the juicing process.
Use Optimal Program Settings
Adjusting your smart juicer’s program settings is essential for preserving maximum nutrients in your green detox juice. To optimize results, focus on these key adjustments:
- Select a low-speed or gentle setting to minimize heat and oxidation, preserving delicate nutrients like vitamin C and enzymes.
- Use the pulse or short blend function to control juicing duration, reducing nutrient loss from prolonged processing.
- Adjust the filtration level—if available—to retain more fiber and beneficial phytochemicals.
- Set the temperature control to keep juice below 40°F during processing, preventing nutrient degradation.
Pre-Soak Produce When Needed
Pre-soaking produce can markedly boost nutrient retention before juicing, especially for leafy greens and root vegetables that often carry dirt or pesticides. Soaking helps loosen dirt and reduces pesticide residues, making produce cleaner and safer to juice. To maximize nutrient preservation, you may want to adjust your juicer’s settings—such as reducing processing speed or extending pre-soak time—if your smart juicer allows customization. Use cool, clean water and soak produce for 5-10 minutes, depending on dirt levels. Be sure to rinse thoroughly afterward to remove any remaining residues. This step not only improves juice quality but also minimizes potential contaminants, ensuring you get the most health benefits from your ingredients. Pre-soaking is a simple, effective way to enhance both safety and nutrition in your green detox juice.
Adjust Processing Speed Carefully
Since processing speed directly impacts nutrient retention, it’s important to set your smart juicer carefully. Faster speeds generate more heat and oxidation, which can degrade sensitive nutrients like vitamin C and enzymes. To enhance your juicing:
- Select a low or medium speed setting to minimize heat buildup.
- Use the pre-programmed gentle cycle for leafy greens like spinach and kale.
- For tougher produce such as celery and cucumber, increase speed slightly but avoid maximum settings.
- Pause briefly between ingredients to allow the juicer to process thoroughly without overworking the produce.
Adjusting these settings ensures you preserve maximum nutrients while maintaining efficient juice extraction. Pay attention to your produce’s texture and juice quality, tweaking speed accordingly for optimal results.
Juicing Tips for Leafy Greens and Fibrous Vegetables

To get the most juice from leafy greens and fibrous vegetables, it’s essential to prepare them properly before loading them into your juicer. Rinse all produce thoroughly to remove dirt and pesticides. For leafy greens like spinach and kale, tear or chop them into smaller pieces to prevent clogging and improve extraction. When dealing with fibrous vegetables like celery and cucumber, cut them into manageable chunks to optimize juicing efficiency. Alternating between leafy greens and firmer vegetables helps break down fibers and enhances yield. Use your juicer’s designated attachments for leafy greens to maximize juice extraction. Finally, load ingredients in the correct sequence—leafy greens first, followed by firmer produce—to make sure even processing and better nutrient recovery.
Collecting and Storing Your Green Juice
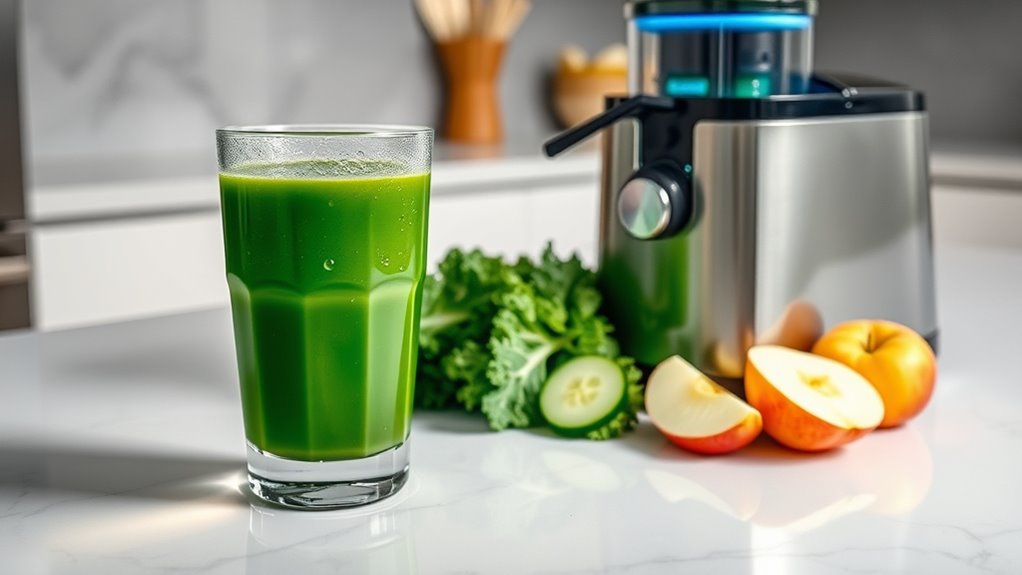
After you finish juicing, promptly collect your green juice in a clean, airtight container to preserve its freshness and nutrient content. Proper storage prevents oxidation and maintains flavor. Here are key tips:
- Use glass or BPA-free plastic containers to avoid chemical leaching.
- Fill containers close to the top to minimize air exposure.
- Seal tightly to prevent odors and contamination.
- Store in the refrigerator at or below 40°F, ideally consuming within 24-48 hours for maximum nutrient retention.
Label the container with the date to track freshness. If you need to store longer, consider freezing in smaller portions for up to 3 days. Proper storage guarantees your green detox juice remains vibrant, fresh, and nutrient-rich.
Enhancing Flavor and Nutritional Value With Optional Add-Ins
Adding optional ingredients to your green detox juice is a simple way to boost both flavor and nutritional benefits. You can incorporate ingredients like fresh herbs such as mint or cilantro for a invigorating twist and added antioxidants. A splash of apple cider vinegar can enhance digestion and provide a tangy note. For extra sweetness without spiking blood sugar, consider adding a small piece of ripe pineapple or a few drops of natural honey. Chia seeds or flaxseed can increase fiber and omega-3 content, supporting heart health and digestion. If you want a spicy kick, a pinch of black pepper or cayenne can boost absorption of turmeric’s curcumin. These add-ins allow you to customize your juice, making it more enjoyable and packed with diverse health-promoting compounds.
Best Practices for Enjoying Your Green Detox Juice
For maximum health benefits, it’s best to enjoy your green detox juice when your stomach is empty, such as first thing in the morning. This guarantees ideal absorption of nutrients. To enhance your experience, follow these practices:
For optimal benefits, drink your green detox juice on an empty stomach, preferably in the morning.
- Drink slowly, savoring each sip to maximize digestion and nutrient assimilation.
- Use a glass rather than a straw to minimize air intake and preserve enzymes.
- Consume within 30 minutes of juicing to prevent nutrient degradation.
- Pair your juice with a light, protein-rich snack later to support sustained energy levels.
Avoid heating or storing the juice for too long, as this diminishes its benefits. Consistent, mindful consumption enhances detoxification and overall wellbeing.
Frequently Asked Questions
Can I Substitute Ingredients Based on Seasonal Availability?
Yes, you can definitely substitute ingredients based on what’s seasonal and available. For example, swap spinach for arugula or kale for Swiss chard. Use seasonal fruits like strawberries or peaches instead of apples or pears. Adjust herbs and roots accordingly, like basil or turmeric. Just keep the nutritional balance in mind, ensuring you still get plenty of greens, hydration, and anti-inflammatory benefits for an ideal detox.
How Long Can I Store the Freshly Prepared Green Juice?
Ever wonder how long your freshly made green juice stays fresh? You can store it in an airtight container in the fridge for up to 72 hours. Just remember, the sooner you drink it, the more nutrients you’ll get. Shake or stir before drinking if separation occurs. Keep it cold, and avoid exposing it to sunlight to maintain flavor and nutritional value. Wouldn’t you love to enjoy maximum freshness?
Is It Necessary to Peel or Pre-Treat the Produce Before Juicing?
You don’t always need to peel or pre-treat produce before juicing, but it depends on the item. For softer fruits like apples or pears, removing the core and washing thoroughly is enough. For tougher vegetables and greens, just rinse them well to remove dirt and pesticides. Peeling may be necessary for certain produce with thick or waxy skins, but generally, a good wash keeps your juice safe and nutrient-rich.
What Are the Best Ways to Maximize Nutrient Retention During Storage?
To maximize nutrient retention during storage, you should store your juice in an airtight, opaque container to limit exposure to light and oxygen. Keep it refrigerated at or below 40°F and consume within 24-48 hours. Avoid stirring or shaking vigorously, as this can break down nutrients. Filling the container to the top reduces air space, helping preserve vitamins and enzymes for longer freshness and nutritional quality.
How Do I Troubleshoot Common Issues With the Self-Cleaning Feature?
When troubleshooting your self-cleaning feature, start by checking for clogs or blockages, clear any debris from the nozzles and filters, and verify the water supply is adequate. Next, confirm the power connection and reset the machine if needed. Regularly inspect for wear or damage, and consult the user manual for specific error codes. Keep the cleaning mechanism smooth, steady, and free from obstructions to maintain flawless operation.
Conclusion
Think of your green detox juice as a vibrant orchard, bursting with life and vitality. Each sip refreshes your body like a gentle rain nourishing new growth. With your smart juicer as the diligent gardener, you cultivate health and clarity effortlessly. Embrace this journey as tending to your personal garden—each ingredient a seed of wellness, each glass a flourishing tree. Drink deeply, and watch your well-being blossom into full, radiant bloom.