Keeping your Vitamix A3500 clean is essential for maintaining its performance and longevity. Proper cleaning prevents buildup, ensures smooth blending, and keeps your appliance hygienic. Follow these simple steps for safe and thorough cleaning.
Gather Your Supplies
- Warm water
- Dish soap
- Vitamix cleaning brush or non-abrasive sponge
- Vinegar or baking soda (optional for deep cleaning)
- Dry cloth or towel
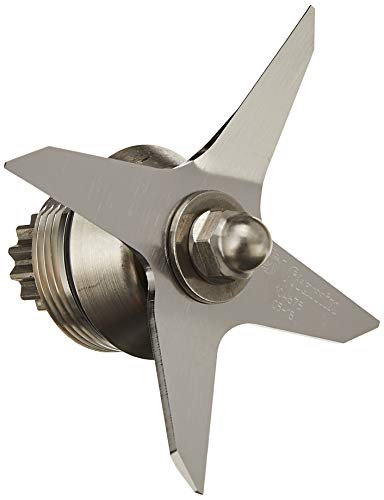
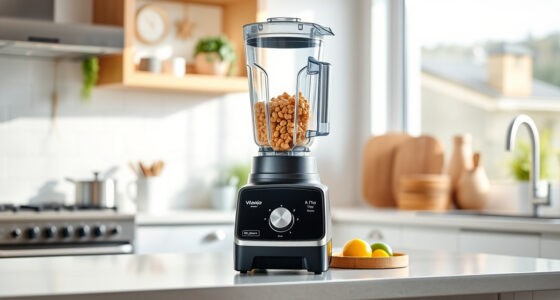
Vitamix Wet Blade Assembly, Silver
The Wet Blade Assembly is designed to be used with the 64-, 48-, and 32-ounce Standard Containers.
As an affiliate, we earn on qualifying purchases.
Clean the Blender Container
- Fill the container halfway with warm water, add a few drops of dish soap.
- Run the blender on high for 30-60 seconds to loosen residues.
- Discard soapy water and rinse thoroughly with warm water.
Clean the Blades and Lid
- Use a soft brush or sponge to gently clean around the blades; avoid submerging the entire base or motor.
- Wash the lid and lid plug with warm, soapy water, then rinse and dry.
Deep Cleaning (Optional)
For stubborn stains or odors, fill the container with a mixture of vinegar and water or sprinkle baking soda, then run the blender briefly before rinsing thoroughly.
Dry and Reassemble
Dry all parts completely with a clean cloth. Reassemble the container and blades, ensuring all components are dry and properly fitted before use.
Products That Help

Vitamix Wet Blade Assembly
- ✔ Weight: Approx 1.5 lbs
- ✔ Color: Silver
- ✔ Warranty: Check manufacturer details
Vitamix Wet Blade Assembly
The Vitamix Wet Blade Assembly is an excellent replacement for older models, featuring hardened stainless steel blades that handle everything from crushing ice to making smooth purees. Designed for quick on-site replacement, it ensures your blender performs like new.
Pros:
- Durable stainless steel blades
- Quiet operation
- Easy to replace
- Compatible with multiple container sizes
Cons:
- Not compatible with newer containers
- Only fits older models
Best for: Replacing worn or damaged blades on classic Vitamix models
Not ideal for: For newer Vitamix containers or models
Bottom line: Reliable replacement blade for classic Vitamix models that need durable, efficient blades.
Frequently Asked Questions
Can I submerge the entire Vitamix motor base in water?
No, the motor base should never be submerged. Clean only with a damp cloth and avoid getting water inside the motor housing.
How often should I clean my Vitamix?
It’s best to clean your Vitamix after every use. Deep cleaning with vinegar or baking soda can be done weekly or as needed.
Is it safe to put the container and lid in the dishwasher?
Most Vitamix containers and lids are dishwasher safe, but always check your specific model’s instructions to ensure compatibility.
What should I do if my blades are stuck or not turning?
Unplug the blender, remove the container, and inspect the blades for debris or damage. Gently clean or replace the blade assembly if needed.
Affiliate disclosure: As an Amazon Associate we earn from qualifying purchases. Prices and availability are accurate as of the time of publishing.